
All tagged 2016-35

Premiere Pro Proxies - WHY THEY ROCK
Filmmaker and Premiere Pro trainer, Christine Steele, shares some of the benefits of the recently added proxy workflow in Premiere Pro. Christine describes how using proxies is a welcome improvement compared to how she used to edit promos at ABC. Christine also includes a Premiere Pro proxy video tutorial by Chinfat (Channing Lowe), a YouTube channel that Premiere Pro users should recognize! This post was created using Adobe Spark.
Proxy Workflow inside the current version of Adobe Premiere Pro allows you to transcode footage during ingest, without having to use another application like Adobe Prelude or Adobe Media Encoder. —Christine Steele

BeatMatching - Adobe Premiere Pro CC Tutorial for Better Audio Transitions
In this tutorial, Mathais Möhl of Mamoworld demonstrates how BeatEdit can be used for tempo matching in Premiere Pro with the help of Adobe Audition. BeatEdit analyzes music tracks and applies clip markers to beats, These markers can be used to accurately retime tempo to seamlessly transition from one music track to another. Retiming is done in Adobe Audition for higher quality results, i.e. no monster or chipmunk effect.
In this Premiere Pro tutorial you learn how to adjust the tempo of one song to match the tempo of another one in order to create a smooth transition between them. —Mathais Möhl

Premiere Pro Tutorial: Old Film Look
In this video, Tyler of Motion Array teaches how to create an old film look using only native Premiere Pro effects. Better still, all the effects are applied to one layer, allowing you to save this look as a preset in the Effects panel. This tutorial covers all the characteristics of old film: from sepia tone to scratches, flicker and noise, all in Premiere Pro.
In this Premiere Pro tutorial, you'll learn how to create a cool, stylized old film look inside of Adobe Premiere Pro. The best part of this tutorial is that the entire look is created on a single video track, so you can easily save out an old film preset to use in your future videos. —Tyler Williams

Creating Emotionally Transformative VR Experiences
Meagan Keane interviews Dan Emerson of Conan Roberts of VR City, a company they started to focus on telling stories in VR. They discuss the post-production workflow which involves cutting the story in Premiere Pro, round-tripping to Autopano Video Pro and After Effects, and then finalizing and color grading in Premiere Pro.
See VR City at the Adobe booth, IBC 2016:
Darren Emerson, Company Director, and Conan Roberts, Head of Post-Production, will talk about how they got started producing virtual reality documentaries and commercial content and their goal to create emotionally transformative experiences. —Meagan Keane
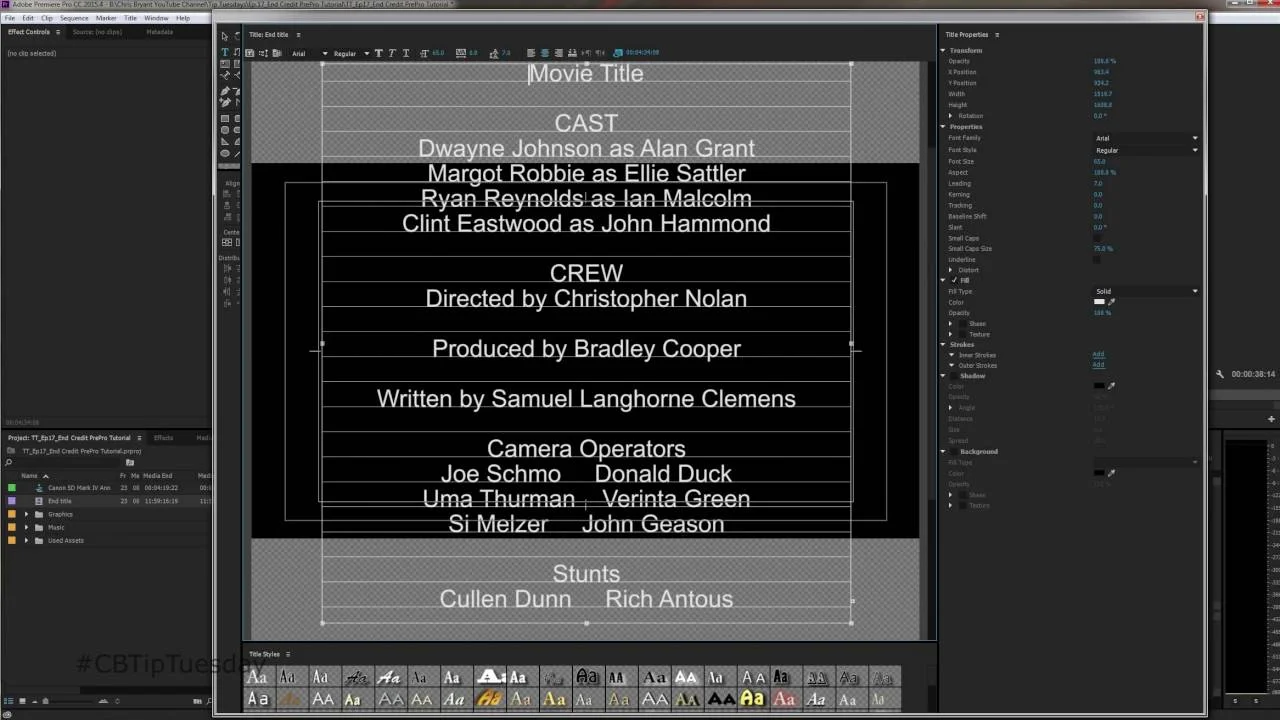
How to Create Scrolling End Titles in Adobe Premiere Pro
Entrepreneur, filmmaker, and YouTuber, Chris Bryant, shares how to create scrolling end credits. In this video, Chris walks you through the "Roll/Crawl Options..." in the Title Designer in Premiere Pro.
Learn how to create cinematic rolling credits for your video, short film or feature using Adobe Premiere Pro's built in rolling crawl text tool. —Chris Bryant

Quick Tip: Trim Clips to the Playhead in Premiere Pro
In this Premiumbeat blog post, Logan Baker gives several Premiere Pro tips that will dramatically speed up your timeline editing. He includes helpful animated GIFs demonstrating several trim to playhead keyboard shortcuts.
This quick workflow fix will save you time and frustration in your next editing session. Here’s how to easily trim clips to the playhead in Premiere Pro. —Logan Baker

Ident Pictures gives viewers a 360-degree tour of the Gotthard Base Tunnel
This Adobe blog post (Ident Pictures gives viewers a 360-degree tour of the Gotthard Base Tunnel) features a 360° video documentary on the Goddard Base Tunnel by Roman Lehmann of Ident Pictures. Edited in Premiere Pro.
I’ve worked with Adobe Premiere Pro for three years and I’ve always liked that it can handle huge files, even 5K or 6K video. With a good computer, you can work quite flawlessly during the edit, and with proxy workflows in the newest version of Premiere Pro it is getting even easier. I don’t have to think about codecs and formats anymore because it’s all readable by Premiere Pro, which frees me up to think about the story instead of worrying about the technical aspects. —Roman Lehmann
See Ident Pictures at the Adobe booth, IBC 2016:
Managing Director Roman Lehmann will discuss his work creating video, audio, and photography content for television, film, and the web. He’ll also share his first 360-degree video project, a short film he helped create on the Gotthard Base Tunnel. —Meagan Keane
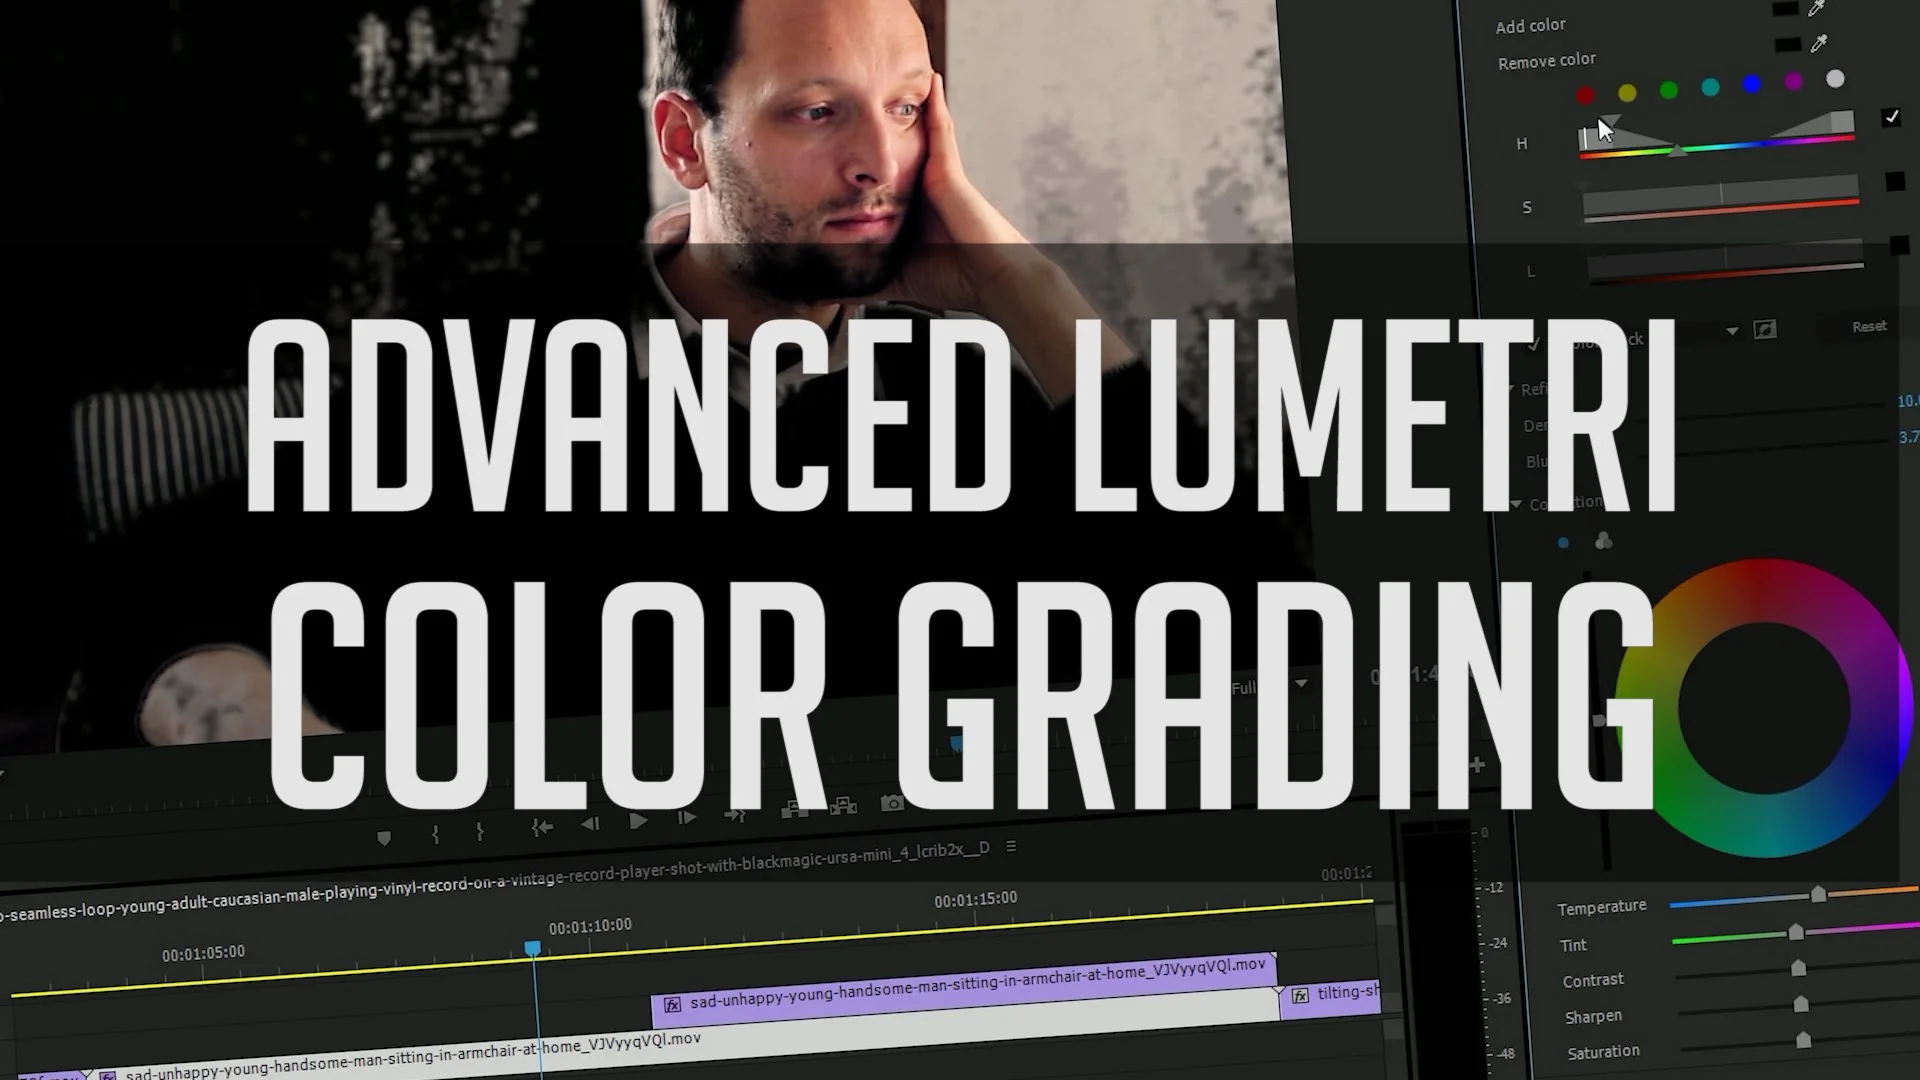
Advanced Color Grading in Lumetri - Adobe Premiere Color Correction Tutorial
In this Premiere Pro video tutorial, Casey Faris shares an advanced color grading workflow using multiple instances of the Lumetri Color effect. It's important to understand the stacking of color adjustments in the Lumetri Color panel, and how each section feeds down into the next. For example, changes to the Basic color parameters could throw off a color key in the HSL Secondary. In some cases, as Casey demonstrates in this video, it's better to use separate Lumetri Color effects for each color adjustment.
In this tutorial, I'll show you some tips for stacking corrections and working smarter while doing some advanced color grading in the Lumetri Color panel in Premiere CC 2015.3. —Casey Faris

How to use Post Notes Plugin in Adobe Premiere Pro CC
In this video, Premiere Gal shows how to create sequence notes and to-dos using the Premiere Pro extension Post Notes. She demonstrates how easy it is to leave yourself or your assistant editor notes and to-dos within a Premiere Pro project. Learn more about Post Notes visit: Post Notes Extension for Premiere Pro CC.
Download the Post Notes Plugin http://postnotes.io And use coupon: premieregal at check out to get $2 off! —Premiere Gal