
Tips and Tools for Editing Music in Premiere Pro
A Guide for Choosing the Right Music and Editing it in Premiere Pro.
[Sponsored Post]
Happy New Year! Now is a good time for video editors to find some fresh stock music for their projects. Every editor and their mother knows that audio is half the picture. And if the audio for your project is music only — like a music video, demo reel, wedding film — then you have a lot riding on your song selection. It takes an experienced ear to “feel” the rhythm in a song and edit it to the pace of your story. This post will help you develop an ear for choosing the right music and making it fit your video. Let’s take a look at some tips and tools for editing music in Premiere Pro.
1. Listen With Intention - “Feel” the Music
I know. The basics are boring. But these principles lay the foundation for the rest of the post. (Personally, it was very insightful to write these out. I hope they are equally helpful to read.)
Video editing is like playing music, but instead of instruments, an editor uses images and sounds. An editor must have a sense of rhythm, especially when it comes to editing to music. Whether you’re trying to pick the right song or you’ve already begun editing, the ability to “feel” the rhythm in the music is an intangible skill. However, that’s not to say it can’t be acquired or improved. For some video editors, this means listening to music with more intentionality. Here is a short list of things to help you listen more intentionally and “feel” the music:
Listen for the downbeat: the first beat in a measure. It’s the most common place to add an edit point when cutting to music. You will never go wrong cutting on the downbeat.
Listen to the drums. They keep the beat; follow them and you’ll never get lost. Listen for kicks, snare hits, hi-hats, fills, and breaks. These are all potential places to add edits.
Listen for recurring themes or sounds in the song. You may want to repeat the timing of your cuts to create consistency in these areas. Use consistency to develop and reward the audience’s expectations throughout the song.
Listen for “peaks and valleys” in the music’s emotion and intensity. It makes sense to increase the number of cuts during intense, dramatic parts of the song. Longer shots may be appropriate for slower, quieter moments in the song.
Listen for opportunities to break the rules. It’s all about being creative, afterall.
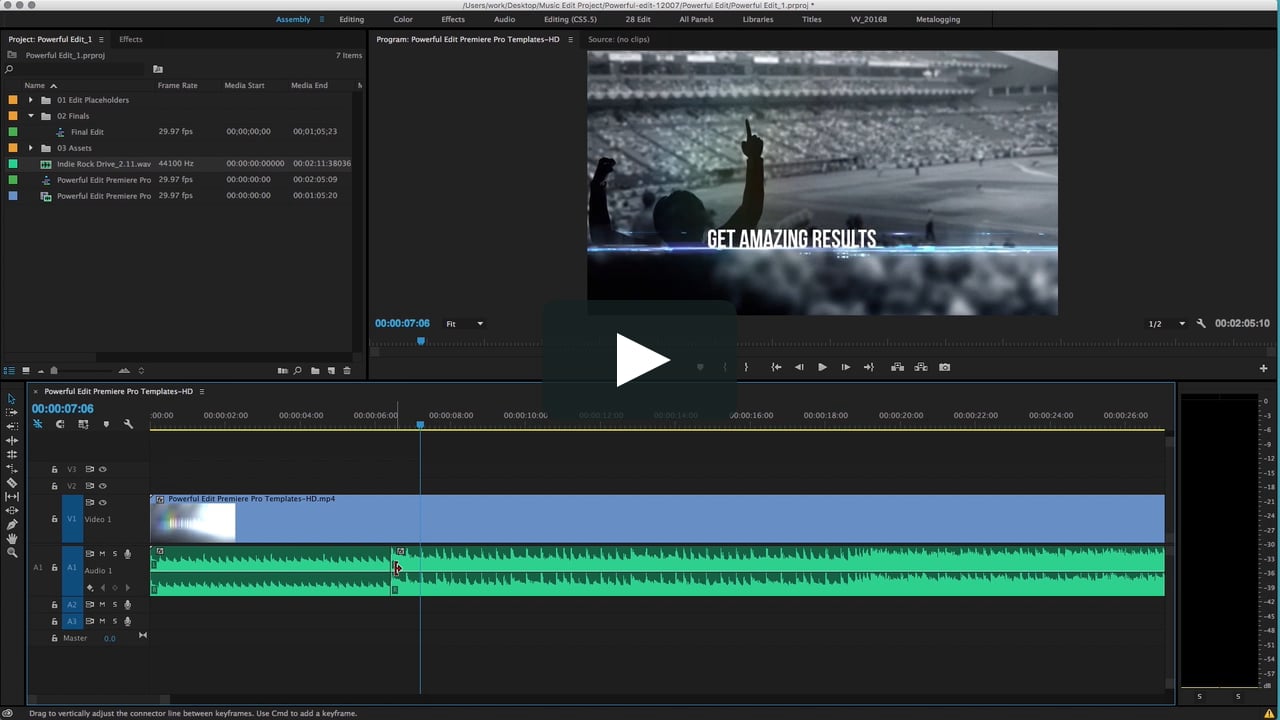
One cheat for “listening” to a music track is viewing the audio waveform. By default, Premiere Pro generates waveforms for your audio clips automatically. You can expand audio tracks as well as zoom in to the Timeline to get a better view.

Think of waveforms as visual representations of your audio. While listening to the track, look for regular, repeating spikes in the waveform. It’s fairly easy to identify patterns, particularly drum beats, in the waveform once you’ve associated it with the music. This is why many stock music libraries, including Motion Array, display audio waveforms for their tracks. The audio waveforms give video editors a visual understanding of the songs’ energy and pace. Take advantage of it, especially when choosing music to edit to.

2. Pick the Right Music
Music is entirely subjective. We know this from the never-ending number of genres that we have today. However, the principles of listening with intention will help you better identify music that fits the story you’re trying to tell.
Of course, there are times when a producer or client will dictate the song. (Sometimes that’s a relief!) There are times when choosing a song means hours of scrolling and previewing tracks. Here’s a simple approach I’ve developed for choosing the right song. If you had to write a 100-page essay on any topic, you would probably pick one you felt passionately about, knowing your interest in the topic would keep you motivated during the long hours of writing.
Same with choosing a song for your video.
Editing a video requires anywhere from dozens to thousands of editing decisions. And that may be just for a rough cut! Choose a song that inspires you to continue editing the story, even after hours and hours of listening to it.
Music Licensing

Image by Motion Array.
Up to this point we’ve focused on the creative aspect of editing to music. Licensing is another big part. Unless you’re editing home videos, you need to pay attention to copyright. Is your music royalty free or rights managed? Is it for use in perpetuity or for a specific amount of time? These are questions you should answer before you make a single edit. And, unfortunately, answering these questions can be rather complicated. Luckily, Motion Array has a comprehensive blog post explaining music licensing to help you purchase your next song with confidence.
But, why not keep it simple?
Check out Motion Array’s large music library of royalty free stock music and sound effects. You can use any of their songs in multiple video projects for your clients.
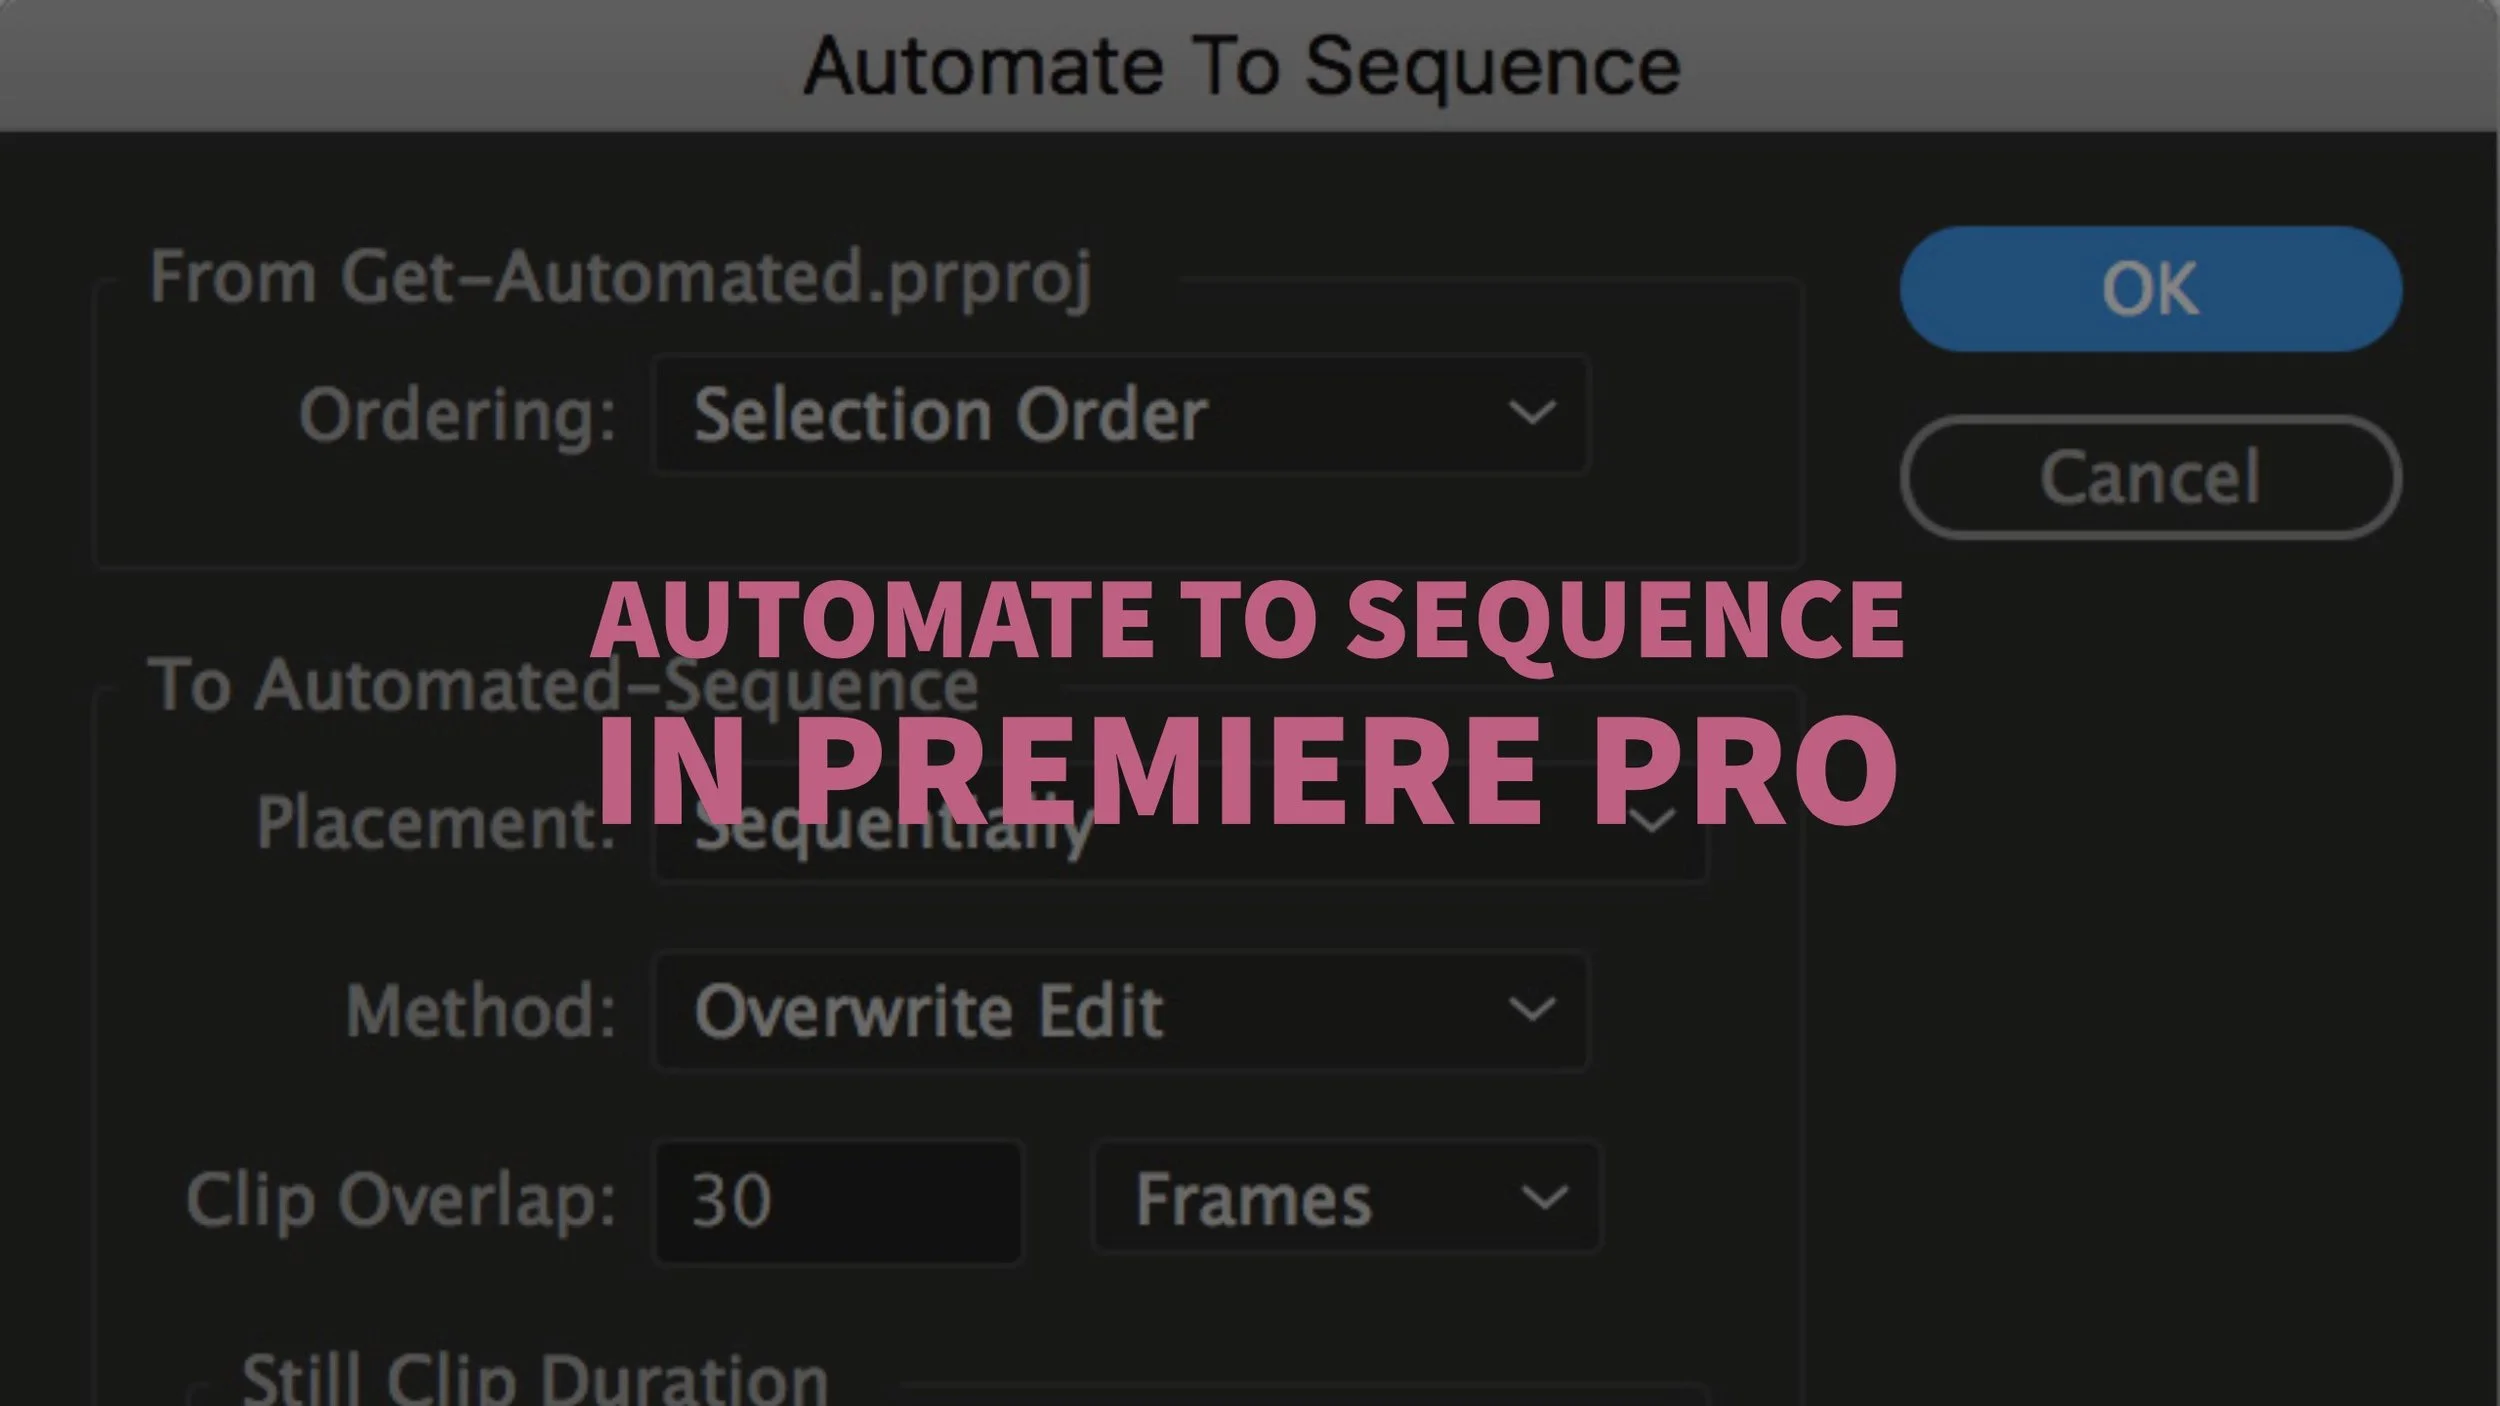
3. Edit to the Beat With Automate to Sequence
You listened with intention and chose your song; it’s finally time to jump into Premiere Pro! Automate to Sequence in Premiere Pro is a very useful feature for beginning your edit. It automatically adds clips to marker points in a sequence. Markers can be timed to a music track to automate clips to the beat of the music.
First, create a new sequence and add your music clip to the Timeline. You might find it reassuring to lock the track, preventing any proceeding edits from accidentally cutting your music clip.
Press the spacebar to begin playback. As you listen to the music, press “M” to add sequence markers on the beats. (Make sure the music clip is not selected in the Timeline; otherwise, markers will be added to the clip instead of the sequence.)

Once you’re happy with the timing of your markers, select your clips in the Project panel. It’s important to note that Automate to Sequence will honor the order your clips are selected. It may be easier to preview and arrange your clips in Icon view while making your selection. Click the thumbnail icon at the bottom of the Project panel and switch the Icon Sort to “User Order”.

With your clips selected, click the Automate to Sequence icon in the bottom right of the Project panel.

Most of the Automate to Sequence parameters are self-explanatory. You can customize the ordering, placement, insert or overwrite method, default transitions, and more.

For a thorough explanation of Automate to Sequence, check out our extensive blog post:
PRO TIP: Motion Array’s music tracks are yours for life, for as many projects as you want. So once you add markers to the beat of a track… save it! Use these sequences as “templates” for a later edit.
4. Hole for Dialogue
This simple EQ technique will immediately up your audio mixing game. Editor, Vashi Nedomansky (6 Below, Sharknado 2: The Second One) puts it well in a great post on EQ tips for audio. He says, “Before you boost something…consider cutting something else first. This maxim applies to all EQ philosophies[…] So instead of raising the dialog…cut into the music and make a hole for the dialog to live in.”
The frequency for the human voice ranges from approximately 100 - 4K Hz. That's a wide range! But there are particular frequencies within that range that are more important for speech clarity, particularly when it comes to audio mixing. (Here's an article with helpful graphs explaining human speech spectrum, frequency range, and formants.) Editors can use this knowledge to carve out a “hole” in those frequencies so the music competes less with spoken dialogue. It helps the dialogue “sit” in the mix, making it sound clearer and more professional.

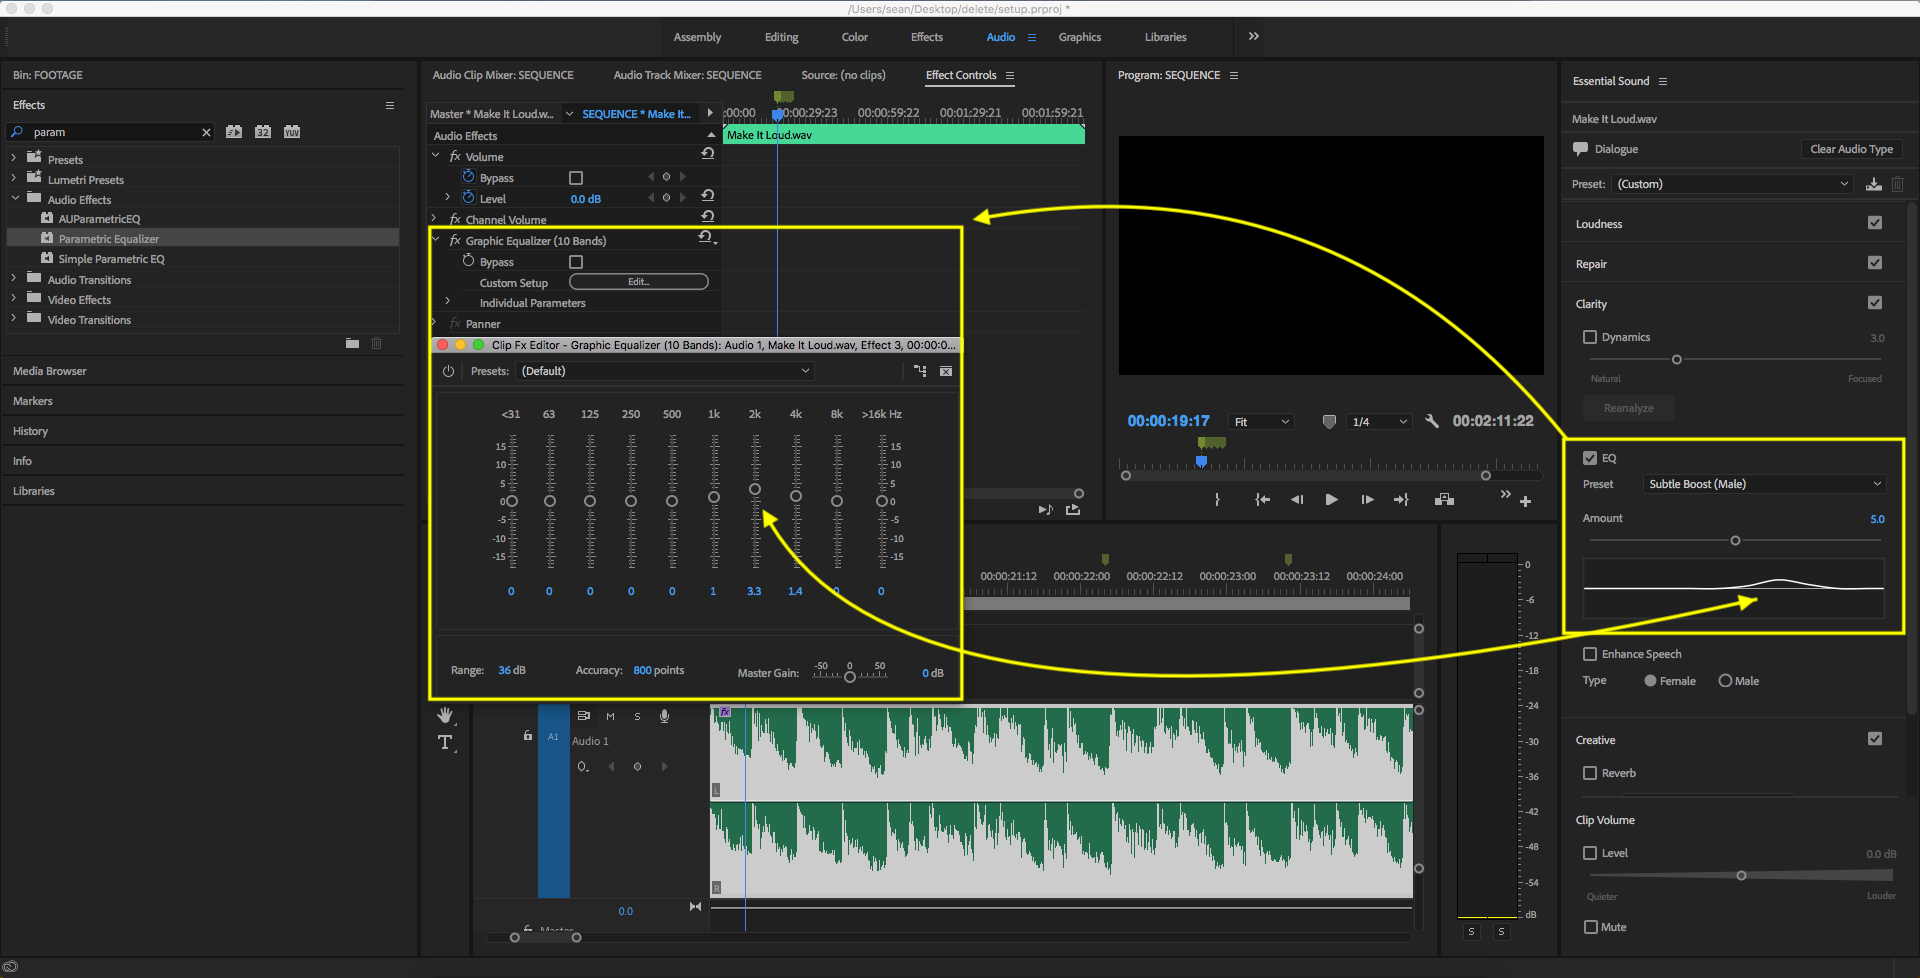
Creating a hole for dialogue is easily done in Premiere Pro with the Parametric Equalizer effect. Select the frequency by dragging on any of the 5 points (not “L” or “H”) in the frequency graph. You can fine-tune the Frequency under the graph. Enter a low number for the Q/Width value: 2 to 6 is good. The higher the Q/Width, the narrower the curve on the graph. Think of this as the softness or “feather” for your frequency selection. Then, lower the Gain by -6 to -12 dBs. Of course, all of this is dependent on your dialogue, music recordings, and personal preference.
Vashi recommends making the hole at 1250 Hz, gain at -18, and q/width at 4. He says, "This cuts the music frequencies that are in the heart of the human voice range." In fact, he offers a free preset in Vashi’s 12-Pack Audio Presets. Personally, I think a gain of -18 is a little strong. I tend to dial back to -10. Experiment to see what you like best!
"Sweeping the frequencies” is another way to find the optimal hole in the music for the dialogue. Set the gain and Q to a more aggressive amount, then drag back and forth on the frequency. The animated GIF below demonstrates this technique; just remember to lower the gain instead of raising it. Listen for how well the dialogue fits in the music. Choose the point where there’s the least amount of competition between the two.

Once you’re happy with your Frequency selection, ease back on the Gain and Q to “feather” the hole in the music. Read more about this technique in our post: Premiere Pro Audio Workflow Guide for Editors: Part 2.
Remember, you can easily return the music to it’s default EQ when there is no dialogue. This can be done by keyframing the EQ effect, or by cutting the music clip, muting the EQ effect, and then adding cross dissolves to create a smooth transition between clips.
4. The Essential Sound panel
The Essential Sound panel is a new approach to working with audio for video editors. The great thing about the Essential Sound panel is it uses the same high-fidelity audio effects already present in Audition and Premiere Pro. In essence, the Essential Sound panel is an easy-to-use controller for many familiar audio effects. Video editors can quickly make broad adjustments to groups of clips with the Essential Sound panel, and then make fine-tune adjustments to the individual clip effects.
Auto Ducking in Audition
Ducking refers to the technique of reducing the volume of the music during moments of dialogue. Traditionally this required either keyframing the music level or creating a “sidechain” with a compressor automatically lowering the music level when dialogue is detected. Depending on the complexity of the audio, keyframing can become a very tedious task. Your audio track can start to look like the Manhattan skyline. Alternatively, creating a sidechain requires an intermediate knowledge of audio workflows.

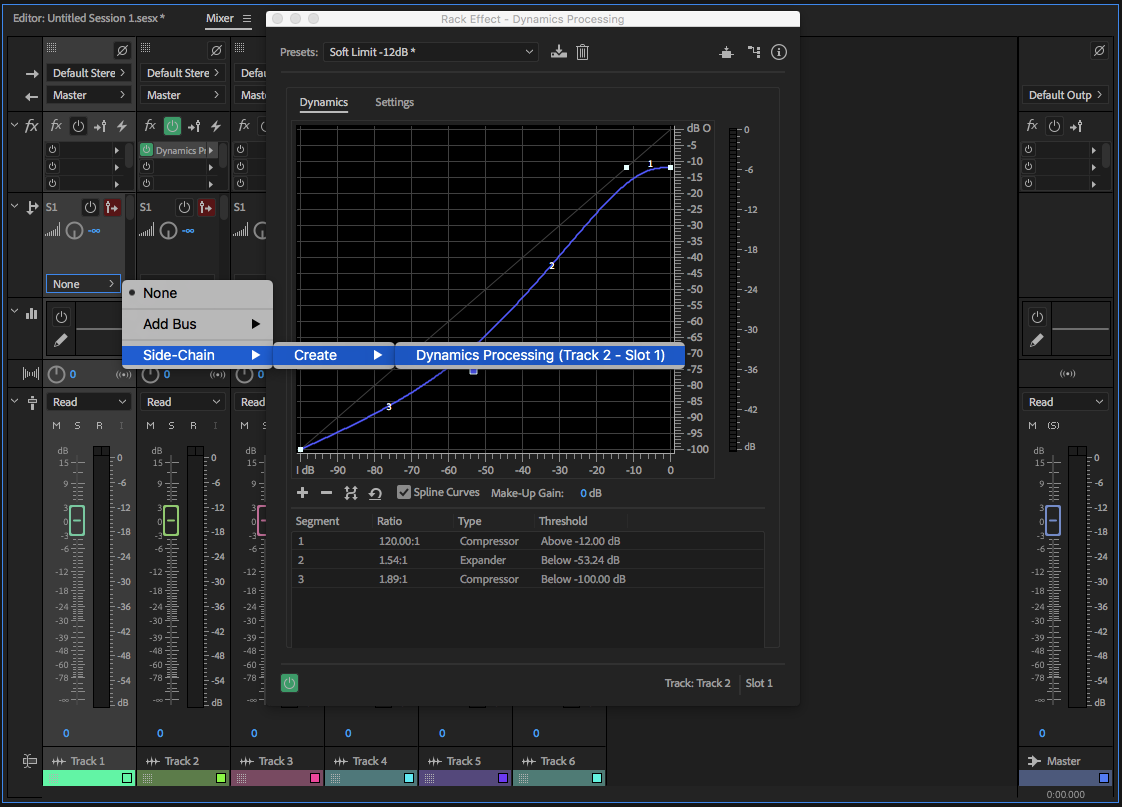
A new and convenient audio tool in the latest version of Audition CC is auto ducking. The Ducking feature in Audition’s Essential Sound panel automates the power of a sidechain compressor, but with much simpler controls.

Leveraging the advanced algorithms of Adobe Sensei, automatically duck music clips behind dialogue and other sound elements - available now in the Essential Sound panel in Audition CC.
In order to use Ducking, the song must be added to a Multitrack Session. Select the music clip and activate the Ducking tab in the Essential Sound panel by clicking the checkbox on the right hand side. Choose which Audio Type you want the music to be ducked against. Typically this would be Dialogue - the little speech bubble icon. Whenever the dialogue breaches the threshold, the music level is automatically lowered. Use the Sensitivity slider to raise or lower the threshold. Use the Reduce By and Fades sliders to adjust the level of the music and the smoothness of the adjustment.

SIDENOTE: we think it’s only a matter of time before the automatic ducking feature makes the jump from Audition to Premiere Pro.
5. Expand or Condense a Music Track (Or Use Remix)
In my opinion, it’s annoying when an editor cuts together the story and then slaps a piece of music underneath it. It’s distracting when the emotional peaks and valleys of the song are way out of sync with the emotion of the story. But what are you supposed to do when the song doesn’t match the pacing of the edit?
Make it.
As an editor, it’s your job to make sure the music accompanies the emotion of the story. Even if that means cutting up the song to match the edit. Here are a couple tips for making a song to fit your edit:
Cut on the downbeat. Extract or splice together whole measures of the song.
Cut together segments from different measures to condense a part of a song, such as an intro/outro, instrumental, or crescendo.
Experiment with short and long constant power dissolves. See what works best to blend edit points into a seamless transition.
Close your eyes and listen for the edit point. If you can’t hear it, your audience won’t hear it.
Does the music library provide shortened or looped versions of the track? (Motion Array does!) Experiment with these alternative versions of the song.
Use natural sound or sound effects to break up the song or hide edit points.
Add a music change.
Hire a composer.
Remix in Audition and Premiere Pro
Adobe offers a very powerful tool called Remix in Adobe Audition that automates the process of expanding and condensing a music track to fit the length of a video. It analyzes the beat in the song and seamlessly edits the track to achieve a target duration.

As with Ducking, Remix can only be used in a Multitrack Session. Enable Remix under the Properties tab. After Audition analyzes the track, you can set the desired Target Duration or enter an exact duration in the Advanced controls. The remaining parameters are for customizing the transition points in the song. Hover over the controls to get helpful explanations of the features.

Remix is also integrated into the Essential Sound panel in Premiere Pro. I recommend using the default Audio workspace where the Essential Sound panel is easily accessible. Select the music clip in the Timeline and choose the Music Audio Type. Activate the Duration tab by clicking the checkbox on the right hand side and enter the new Target length. Motion Array demonstrates this Premiere Pro feature in the beginning of their tutorial: How To Change Music Length in Premiere Pro.

Ask anyone who has used Remix and they will tell you it’s surprisingly accurate. Remix is a total win for projects that just need background music for a specific length of time.
However...
In my *very* humble opinion, Adobe Sensei is no match for me when it comes to chopping up a music track. What do I mean by that? Remix is able to detect beats in a track, but it can’t “feel” the emotion in the music. And it certainly can’t align the peaks and valleys of the music with the peaks and valleys of the story. So use Remix with caution. Until AI can understand the context of an edit, trust your own ears when cutting music to fit your video. Rely on the principles of listening with intention in the first tip and make your music match your story. Watch Motion Array’s tutorial on Cutting Music to Match Video in Premiere Pro for further learning.
Summary
Despite the subjective nature of music, I hope this post provided some insights for choosing and editing music in Premiere Pro. Particularly, I hope the principles of listening with intention were helpful; I recommend you use them to develop your own criteria for choosing music for your projects.
Make sure to check out Motion Array’s library of royalty-free stock music for your next editing project. They have a long list of categories to choose from, including Sound Effects and Free tracks. With over 16,000 audio files, and hundreds more added every month, you will never be lacking for new music.
Were these tips helpful? Did you find the principles of listening with intention useful? What tips do you have for editing music in Premiere Pro? I would love to continue the conversation with you in the comments below!

