10 Tips to Improve Playback in Adobe Premiere Pro
Premiere Pro Tips to Keep Your Edit Grooving and Your Playhead Moving
As a video editor, nothing is worse than choppy playback. Whether you're racing the clock or just starting out, ain't nobody got time for dropped frames. Luckily, there are plenty of settings in Premiere Pro that can improve playback performance. Here are 10 tips (plus 2 bonus tips!) for keeping your playhead moving smoothly in Premiere Pro.
PLEASE NOTE - This post focuses on playback tips inside Premiere Pro. None of them have to do with hardware or system configurations. This post assumes your computer meets the minimum system requirements for Premiere Pro. Also, these tips are not meant to be rigidly applied to all workflows. They're more like a troubleshooting list. See how they might be used in different stages of your editing workflow.
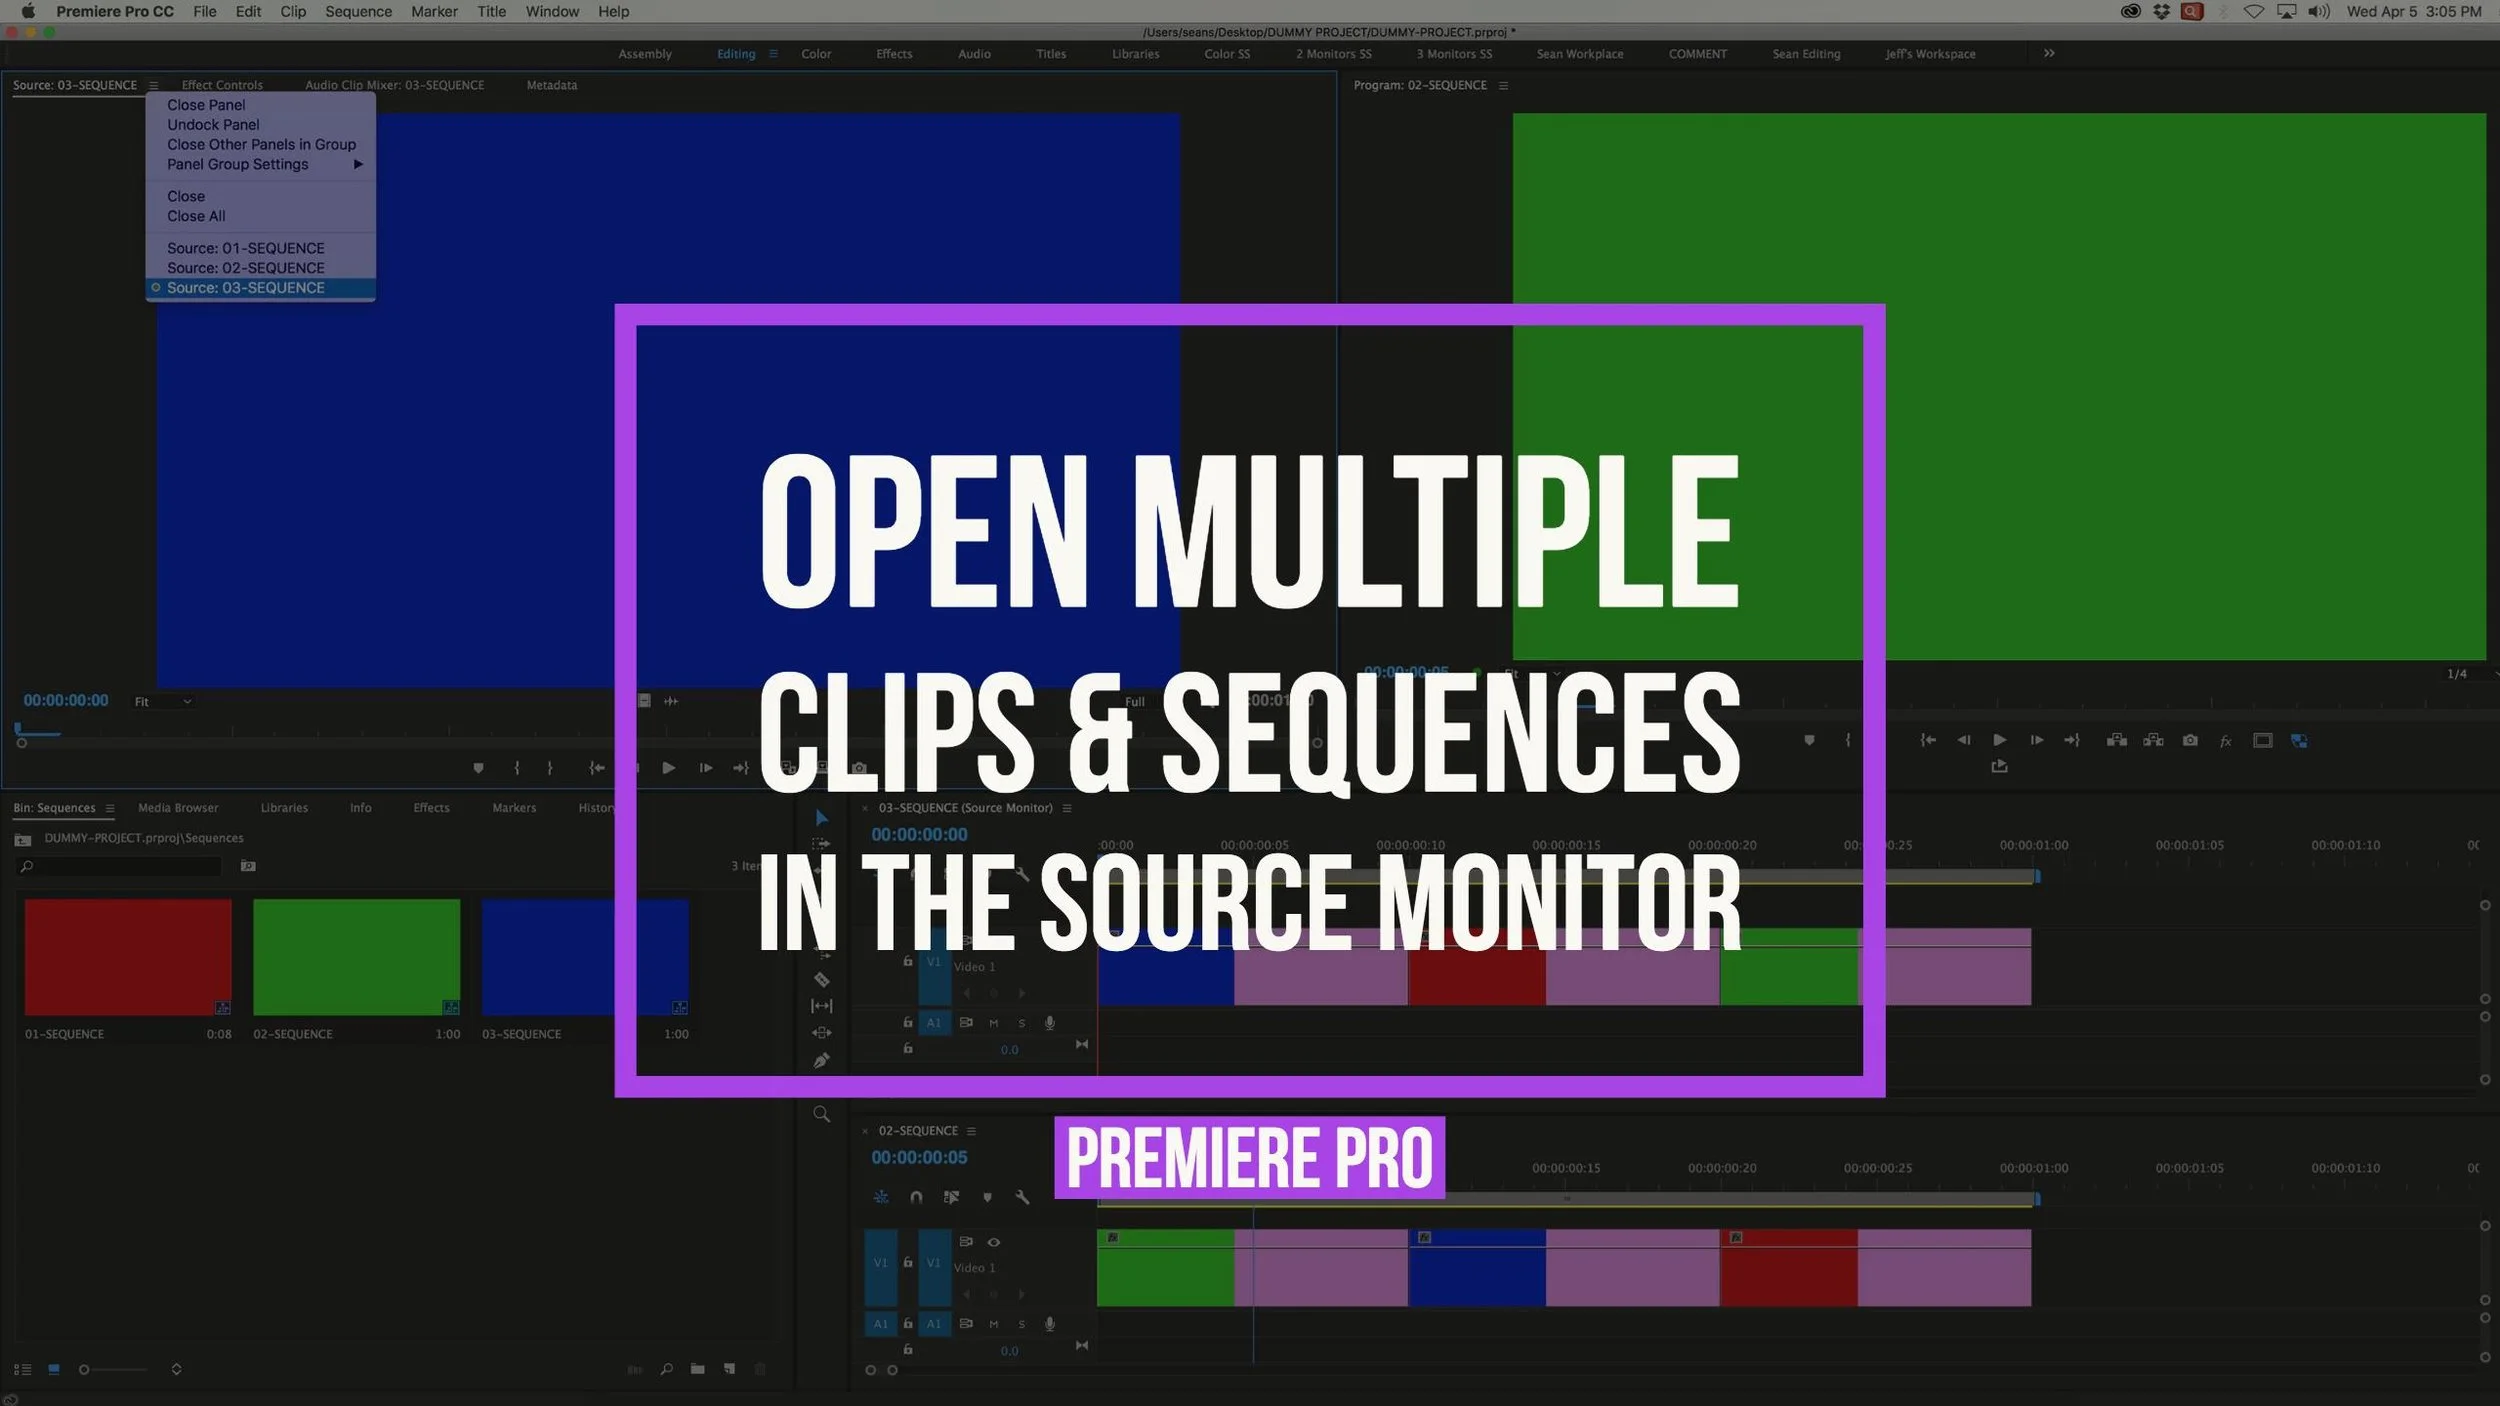
Click through the "Instatorial" below for an overview of the blog post.
First, How Do I know When I'm Dropping Frames?
Obviously, if your playhead is stuttering across the Timeline then you know you're dropping frames. But dropped frames can be more subtle. Premiere Pro has a Dropped Frame Indicator which can be found under the Program monitor settings (wrench icon). The green light turns yellow when dropped frames are detected.
Enable the Dropped Frame Indicator in the Program monitor
Hovering your cursor over the indicator will reveal exactly how many frames were dropped.
Hover over Dropped Fram Indicator to see how many frames were dropped
Now that you're equipped to identify dropped frames, lets look at some ways to prevent them from happening.
1. Lower Playback Resolution
The easiest way to improve playback in Premiere Pro is to reduce the Playback Resolution. It's simple logic: the higher the resolution, the harder it is for Premiere Pro to playback. Click the Playback Resolution dropdown in the Program monitor (the Source monitor has its own Playback Resolution) and select a lower resolution. Depending on the size of your footage, you will see options to decrease playback to 1/2, 1/4, 1/8 or 1/16 the native resolution. (Did you know you can assign keyboard shortcuts for each of these playback resolutions?)
Lowering Playback Resolution yields better playback
Reducing Playback Resolution only applies to playback; it does not affect your export settings. You can change the Paused Resolution independently so you can see full resolution when the playhead is paused. Paused Resolution is found under the Program and Source monitor settings (wrench icons).
2. Turn off High Quality Playback
The High Quality Playback feature made its appearance alongside a bunch of bug fixes in CC 2015.2. Evidently, playback used to have a "slightly softer look" compared to paused even when Playback Resolution was set to full. Toggling on High Quality Playback provides the most pristine viewing experience, but it's more likely to cause dropped frames. The visual difference of High Quality Playback is pretty negligible; Adobe says turning off High Quality Playback is the best choice for real-time playback. High Quality Playback is also found under the Program monitor settings (wrench icon).
Turn off High Quality Playback to optimize real-time playback
3. Proxy Workflows
Proxy workflows in Premiere Pro make it easy for editors to generate proxies, attach existing proxies or reconnect their original footage. Typically, proxy files are low resolution and have been transcoded to a mezzanine format (e.g. Apple ProRes, GoPro Cineform, Avid DNxHD/DNxHR, etc.) specifically for editing. The underlying purpose of a proxy workflow is for better playback performance. If Premiere Pro is choking on 4K h.264 footage, using proxies will definitely make the playhead happy.
Proxy workflows result in smoother playback
4. Set Renderer to Mercury Playback Engine GPU Acceleration
The Mercury Playback Engine is like the brain of Premiere Pro. It decodes and encodes your media for playback. Adding effects to your footage gives Premiere Pro even more to think about, sometimes more than it can process in real-time. Fortunately, many of the effects in Premiere Pro are now GPU accelerated, which means they can be powered by the video card instead of the CPU. If the Mercury Playback Engine is the brain, GPU acceleration is like Red Bull: it gives Premiere Pro wings. Locate the Renderer under File > Project Settings > General and make sure it's set to GPU acceleration. You will either see CUDA, OpenCL or Metal depending on your system's video card. For more information, read this overview of CUDA, OpenCL, Mercury Playback Engine and Adobe Premiere Pro.
Set Renderer to Mercury Playback Engine GPU Acceleration
5. Match Footage and Sequence Settings
One of Premiere Pro's greatest strengths is its ability to playback mixed footage in the same sequence. However, you can help Premiere Pro by matching your footage and your sequence settings. This is another simple logic example - if the footage matches the sequence settings then there's less conversion needed for playback. If you have a lot of media that you're going to output at a lower resolution, you may want to do your editing in a sequence that matches the footage. Then you can bring your edited footage sequence into your master sequence for export.
Footage that matches Sequence Settings will improve playback
6. Toggle Global FX Mute Button
This is a magical button that was added in CC 2017. When toggled it disables all the effects in your sequence. Obviously, this makes playback much easier for Premiere Pro. This is particularly helpful for reviewing your edit in real-time when most of the color and effects are already done.

Toggle Global FX Mute button to bypass effects
To access the Global FX Mute button, click the plus icon in the bottom right of the Program monitor and drag the Global FX Mute button to your tool bar. You can also assign a keyboard shortcut to Global FX Mute.
Add the Global FX Mute button to the Program monitor control bar
PRO TIP: MUTE ADJUSTMENT LAYERS - Similar to the Global FX Mute button, you can also mute or disable clips with lots of effects in your Timeline. Adjustment layers are a great way to apply color and effects across multiple clips. If you know you're going to be adding a lot of effects to a group of clips, try using an adjustment layer. Mute the track with the adjustment layer when want to prioritize smoother playback.
7. Close the Lumetri Scopes panel
If you're not using the Lumetri Scopes, close them. No point having the Lumetri Scopes analyzing the luminance and chrominance of your footage during playback if you're not even watching them. Remember, the Lumetri Scopes are open in the default Color workspace. To close them (or any panel in Premiere Pro) click the fly-out "hamburger" menu to the right of the panel name and select Close Panel. Any panel can be reopened under the Window menu.
Close the Lumetri Scopes to improve playback
8. Turn off Safe Margins, Transparency Grid and Overlays
Sometimes it's the little things that get you. Displaying Safe Margins, the Transparency Grid and Overlays each require a little extra brain power from Premiere Pro. It's best to just turn them off if you're not actively using them. You can find them under the Program monitor settings (wrench icon).
Turn off Safe Margins, Transparency Grid and Overlays
9. Render Previews
If you edit in Premiere Pro long enough, eventually you will notice the yellow bar above the Timeline turn red. It's especially likely to appear when adding effects to your footage.The red bar is Premiere Pro warning you that playback will probably not be real-time. (Click this link for a full explanation of the red, yellow, and green render bars in Premiere Pro.)
The render bar color indicates when preview files are available or need to be rendered
In most cases, when you see the red render bar you will have to render a preview if you want real-time playback. Select what you want to render under the Sequence menu, Premiere Pro will process it and save it as preview file. The green render bar means preview files are available for that segment of the sequence and playback is certain to be real-time. Remember to delete preview files at the end of a project to save disk space. Check out this article to learn more about rendering and previewing sequences in Premiere Pro.
Render or delete previews under the Sequence menu
PRO TIP: USE PREVIEWS ON EXPORT - The great thing about previews is they can be used to speed up export times. Unlike exporting directly out of Premiere Pro, Adobe Media Encoder does not automatically use previews. Make sure to check the Use Previews box in the Export Settings window.
10. Render & Replace Dynamically Linked Comps
Similar to rendering previews, you can also Render and Replace effects-heavy clips in Premiere Pro to make them easier for Premiere Pro to playback. Render and Replace is particularly useful when you're done making changes to Dynamically Linked comps. You've probably noticed Dynamically Linked comps can be a dog when it comes to playback. There's a school of thought that says Dynamic Link should be preserved for active comps only. Regardless of your workflow, Render and Replace will dramatically improve their playback of Dynamically Linked comps. Visit this link to learn more about render and replace media in Premiere Pro.
Render and Replace clips and Dynamically Linked comps for better playback
PRO TIP: EDIT ORIGINAL AFTER RENDER AND REPLACE - Did you know you can still edit the original file even after performing a Render and Replace? You can also edit the original After Effects file after rendering and replacing a Dynamically Linked comp. Select the clip you rendered and replaced, right-click and select Restore Unrendered.
BONUS TIPS:
Optimize Rendering for Performance
Under the Memory preferences, make sure "Optimize rendering for" is set to Performance. Adobe recommends you switch to Memory only if you're receiving memory error messages. Also, a member of the Adobe Premiere Pro engineering team suggested that lowering the amount of RAM reserved for Premiere Pro may actually improve its performance. Experiment at your own risk!
Optimize rendering should be set to Performance
"Video Previews" Sequence Settings Do Not Affect Playback
It may seem counterintuitive, but the Maximum Bit Depth, Maximum Render Quality and Composite in Linear Color do not affect playback in Premiere Pro. It's easy to assume they would given that checking any of these boxes throws up a scary warning about memory and performance. An Adobe Premiere Pro engineer confirmed that playback automatically bypasses these settings. As the "Video Previews" section name suggests, these check boxes only apply when rendering previews.
Video Previews settings (under Sequence Settings) do not affect playback
Again, these tips do not apply to all Premiere Pro workflows, but hopefully some of them will be useful next time your playhead starts skipping. Got any more tips for improving playback in Premiere Pro? Please share them in the comments below!