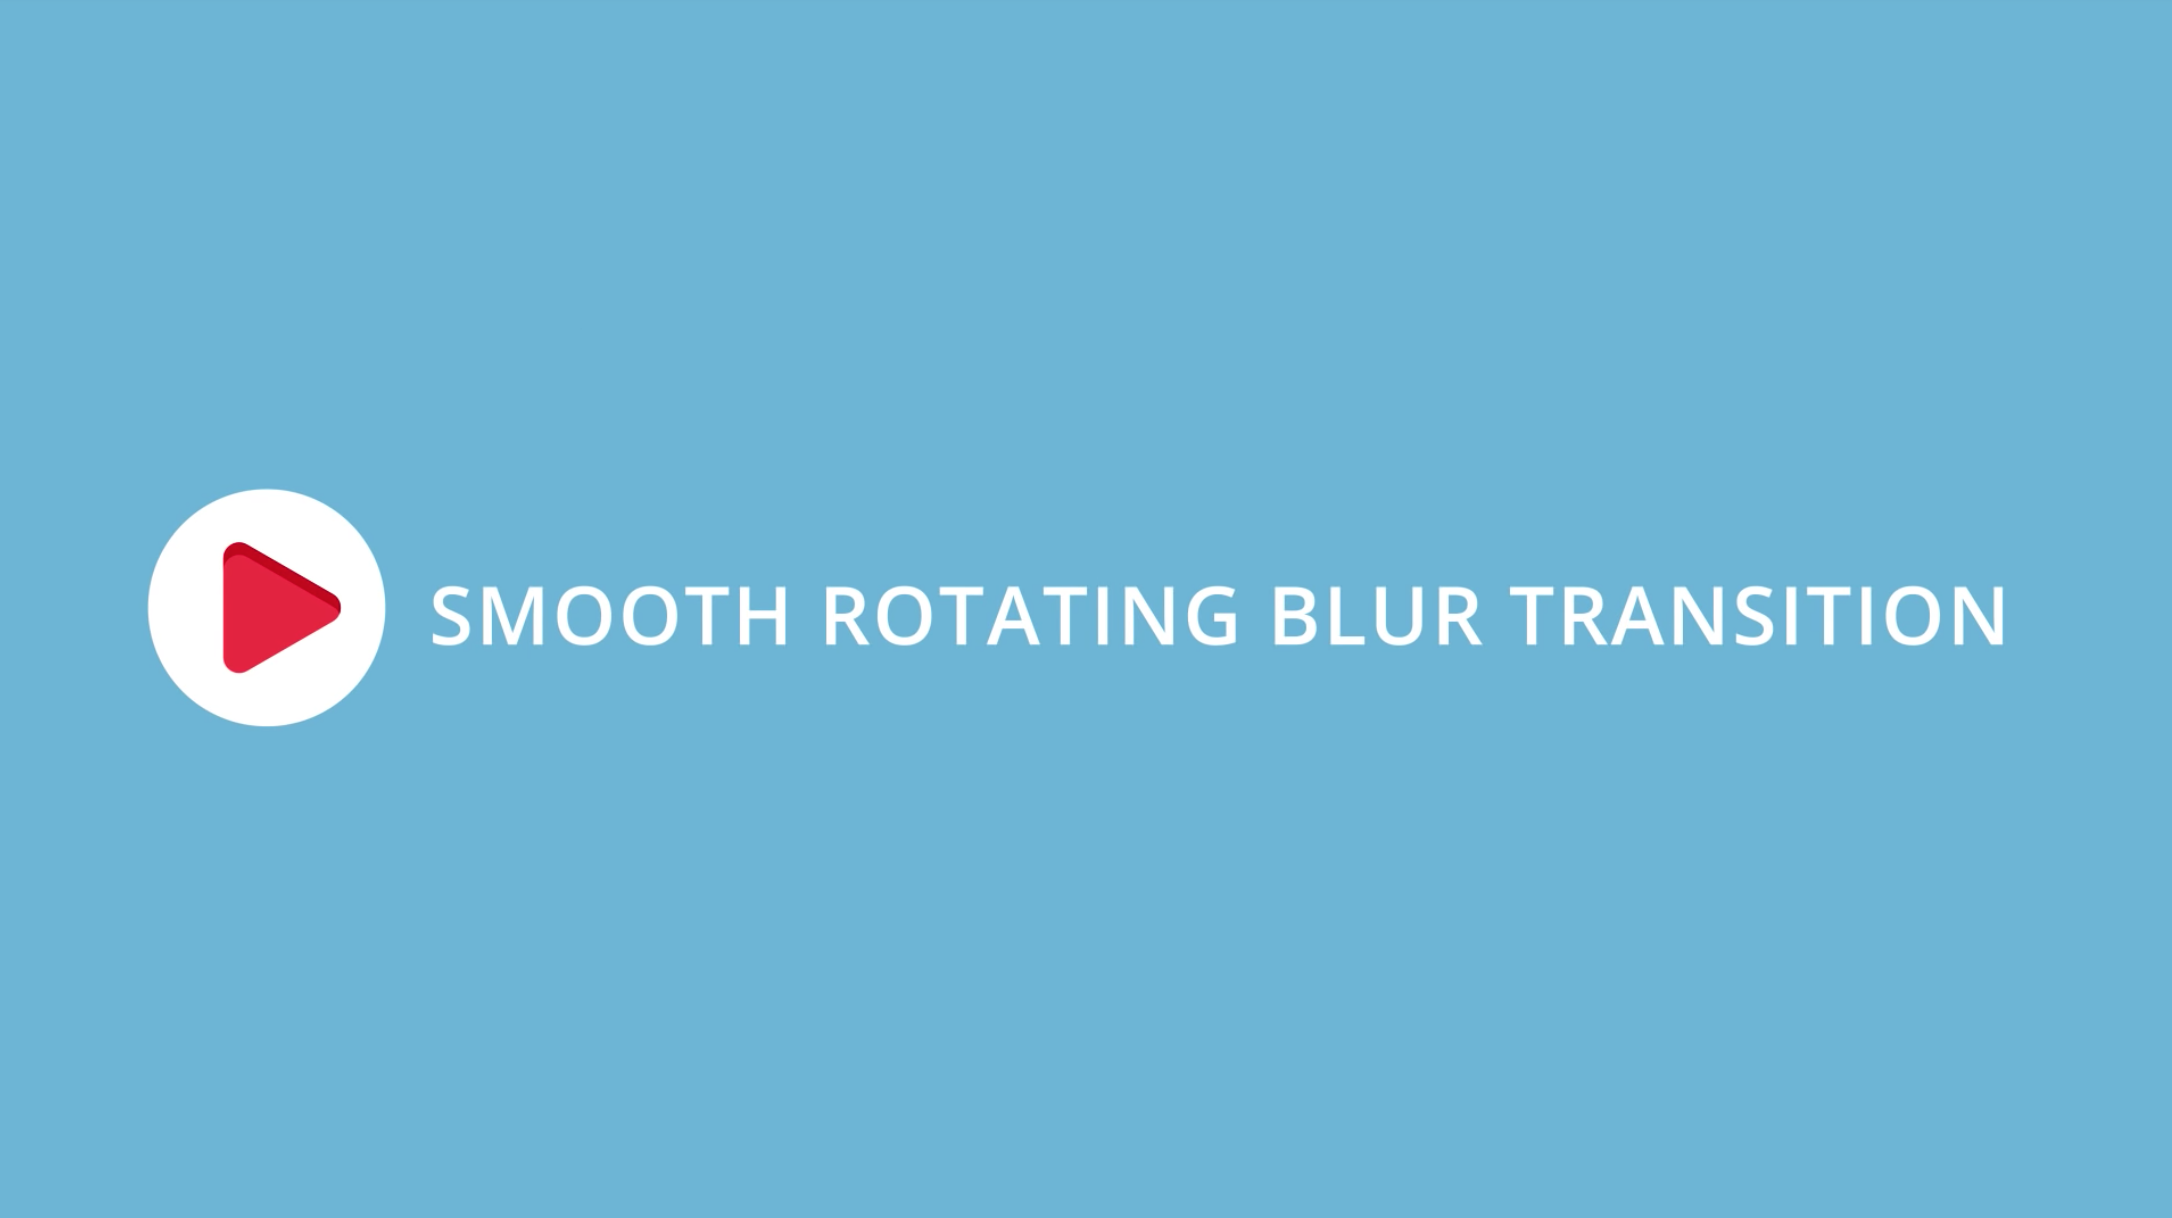
Create a Smooth Rotating Transition with Real Motion Blur in Premiere Pro
Learn how to build a mirrored grid and rotating transition and save them as presets in Premiere Pro.
Watch any popular travel video on YouTube and you will see they all use "smooth" transitions. The more seamless they are the better. It's almost like a contest for who can make their video feel like one single shot that twists and turns and zooms.
So you want in on the smoothness too, right? In this tutorial, featuring Video School Online, you’ll learn how to create a smooth rotating transition with real motion blur inside Premiere Pro. You will also learn how to build the mirrored grid, the first step in creating many popular transitions.
Learn how to create a very cool Smooth Rotating Blur Transition inside Adobe Premiere Pro. As a bonus, I also teach on this video how to save this transition as a preset so you can use it in your future Premiere Pro projects. —Video School Online
Create Two Adjustment Layers

Set up two adjustment layers in preparation for the mirrored grid and transform effects for the rotating transition. Via Video School Online
Create an adjustment layer and add it to the track above two clips. In the video, Phil trims the adjustment layer 7 frames on either side of the edit point
Duplicate the adjustment layer by Opt/Alt+click and dragging to the track above.

This is how your adjusment layers should be arranged in the Timeline. Via Video School Online
In the video, Phil goes on to add the Transform effect to the second (top) adjustment layer in order to demonstrate intrinsic Motion controls will not affect clips below the adjustment layer. You need to use the Transform effect to create the rotation and motion blur for this transition. He also points out rotating the clip reveals the frame edges. We need to build the mirrored grid to fix this.
Create a Mirrored Grid
The mirrored grid is the starting point for many zoom and spin transitions that have become popular in YouTube videos. The end-goal of the mirrored grid is to extend the borders of an image so you can zoom or rotate it without seeing any edges. Basically, it's duplicating and mirroring the video frame (not the clip in the timeline) so there are 9 seamless instances of the image, similar to a 9-way split screen.

Via Video School Online (lines added for emphasis)
The trick is using the Replicate and Mirror effects so that the edges of each frame match the edges of the adjacent frames. This hides any hard edges in the grid, effectively extending the borders of the original or center frame. Follow along with Phil in the video segment below, and he'll show you step-by-step how to create the mirrored grid:

Learn how to create a mirrored grid in Premiere Pro. Via Video School Online
Apply the Replicate effect to an adjustment layer above two clips
Set the Count to 3. This gives us all the duplicate screens
Apply the Mirror effect to the adjustment layer and change the angle to 90°
Adjust the Y coordinate so that the bottom edge is mirrored, hiding the edge (719 in the example)
Apply another Mirror effect and change the angle to -90°
Adjust the Y coordinate so that the top edge is mirrored, hiding the edge (362 in the example)
Apply another Mirror effect and leave the angle at 0°
Adjust the X coordinate so the right edge is mirrored, hiding the edge (1278 in the example)
Apply another Mirror effect and set the angle to 180°
Adjust the X coordinate so the left edge is mirrored, hiding the edge (642 in the example)
The screenshots below show Phil's effect settings and the final mirrored grid. Notice there are no hard edges in the grid.
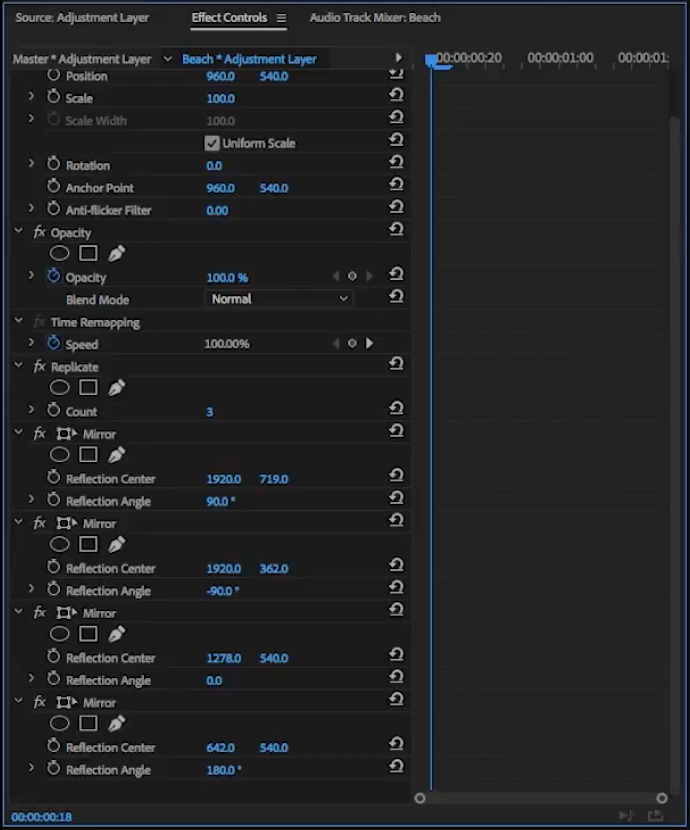

PRO TIP: The X and Y coordinates in Phil's example are not 100% aligned to the edges. But it's not necessary most of the time. The point is hiding any hard edges in the grid. Also, the X,Y coordinates will be different between HD, 4K, and other resolutions.
See how scaling the video down reveals the mirrored grid.

Create Motion Blur Natively in Premiere Pro
Native motion blur in Premiere Pro used to be a mystery several years ago. Thanks in large part to Jarle Leirpoll of PremierePro.net, it's commonly known that true motion blur can be achieved with the Transform effect in Premiere Pro. Watch the video segment below to see how to add motion blur to the rotation in the Transform effect.

Learn how to create true motion blur natively in Premiere Pro with the Transform effect. Via Video School Online
NOTE: The first 3 steps were covered earlier in Phil's video. The video segment above starts at step 4.
Add a second adjustment layer above the first adjustment layer
Apply the Transform effect to the second adjustment layer
Click the Rotation animation stopwatch to set a starting keyframe. Move forward in the timeline, past the edit point in your clips. Adjust the Rotation a full 360°. This will automatically set the ending keyframe. If necessary, center the rotation over the edit point by dragging the keyframes in the Effect Controls panel.
Under the Transform effect on the second (top) adjustment layer, uncheck "Use Composition's Shutter Angle"
Increase the Shutter Angle to taste (250° in the example). The higher the shutter angle, the more motion blur.
Animate the 'Smooth' Rotation
Now that we have the mirrored grid on the first adjustment layer and the Transform effect with motion blur on the second adjustment layer, it's finally time to create our smooth rotation! In this next segment we will animate the Rotation of the Transform effect a full 360° across the edit point of the clips. We will then smooth the animation by adjusting the interpolation of the keyframes. Watch how it's done:
Time to animate the rotation and add the smoothness to the transition. Via Video School Online
Set the playhead to the beginning of the second (top) adjustment layer. In the Effect Controls panel, click the Rotation stopwatch under the Transform effect to add the starting keyframe
Move the playhead to the end of the adjustment layer and set the Rotation to 1x or 360°. This automatically sets the ending keyframe.
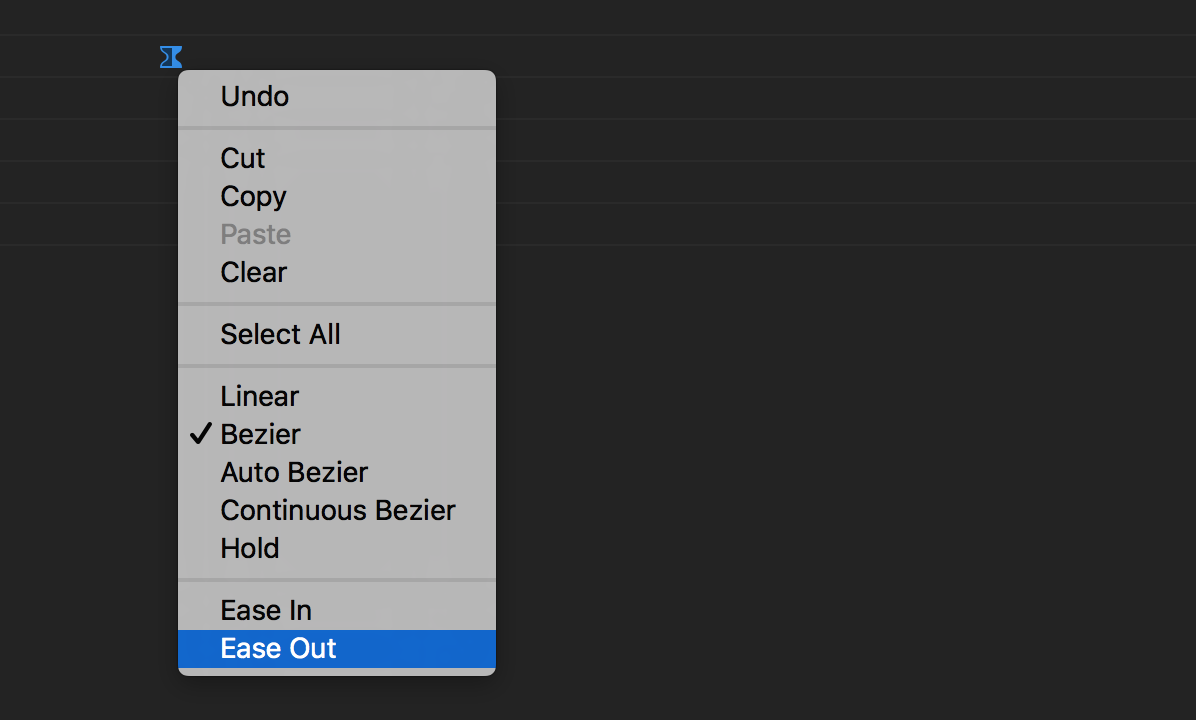
Twirl-down the triangle to the left of Rotation to reveal the Velocity graph. Adjust the bezier handles (blue handles) so that the animation gradually begins and ends.
Alternatively, you can right-click the keyframes and choose Ease Out for the first keyframe and Ease In for the ending keyframe.

PRO TIP: Add a Cross Dissolve to the clips under the adjustment layers. This can help further blend the clips during the transition.
Save Transition Effects as Presets
If you made it to this point, you've got to be thinking, 'this is a lot of work for one transition. Do I have to do this every time?' The answer is no, thanks to effect presets in Premiere Pro. In the video segment below, Phil will show you how to save the mirrored grid and smooth rotation as presets you can use later.
Save your mirrored grid and smooth rotation effects as presets. Via Video School Online
Select the first adjustment layer (bottom) and in the Effect Controls panel, CMD/CTRL+click the Replicate and Mirror effects to select them
Under the Effect Controls panel settings, choose Save Preset
Do the same with the Transform effect on the second adjustment layer (top)

Save the mirrored grid as a preset
Remember, you will need to add the two adjustment layers when you want to use these presets in future projects.
Bropinion
Phil's version of this popular transition is pretty simple. Viewers will have no trouble keeping up and understanding the concepts in this tutorial. However, the order of steps could be a little confusing. We see how creating the first adjustment layer with the Transform effect helps explain the mirrored grid later, but it makes more sense to us if worked more linearly: mirrored grid first, then transform next. It probably would have shave a minute of the length of this tutorial.
Regardless, this is a solid demonstration of how to manually create a real rotation transition in Premiere Pro. The concept of the mirrored grid in this tutorial can be used to create other types of transitions too!
What are your thoughts on this tutorial? How can you use the principles in this tutorial to create your own transitions? Let us know below!

Video School Online
Phil Ebiner is the founder and face of Video School Online, a a library of over 60 video courses, ranging from video editing to starting a wedding film business. Enjoy free tutorials on the Video School Online YouTube channel and check out the website to enroll in a full course.


