
3 Favorite Features in Premiere Pro CC 2019 (13.1)

New Ruler Guides, Tracking Performance and Freeform View in Premiere Pro CC 2019
It’s been a little while since the Premiere Pro CC 2019 (13.1) release. But there’s plenty of tutorial makers still talking about what’s new in it. For example, in this tutorial by tutvid, Nathaniel Dodson shares his top 3 favorite new features in Premiere Pro CC 2019. Take a look and see if there’s a feature that’s new to you. And how about that shirt Nathaniel’s wearing… boom.
1. Guides and Rulers
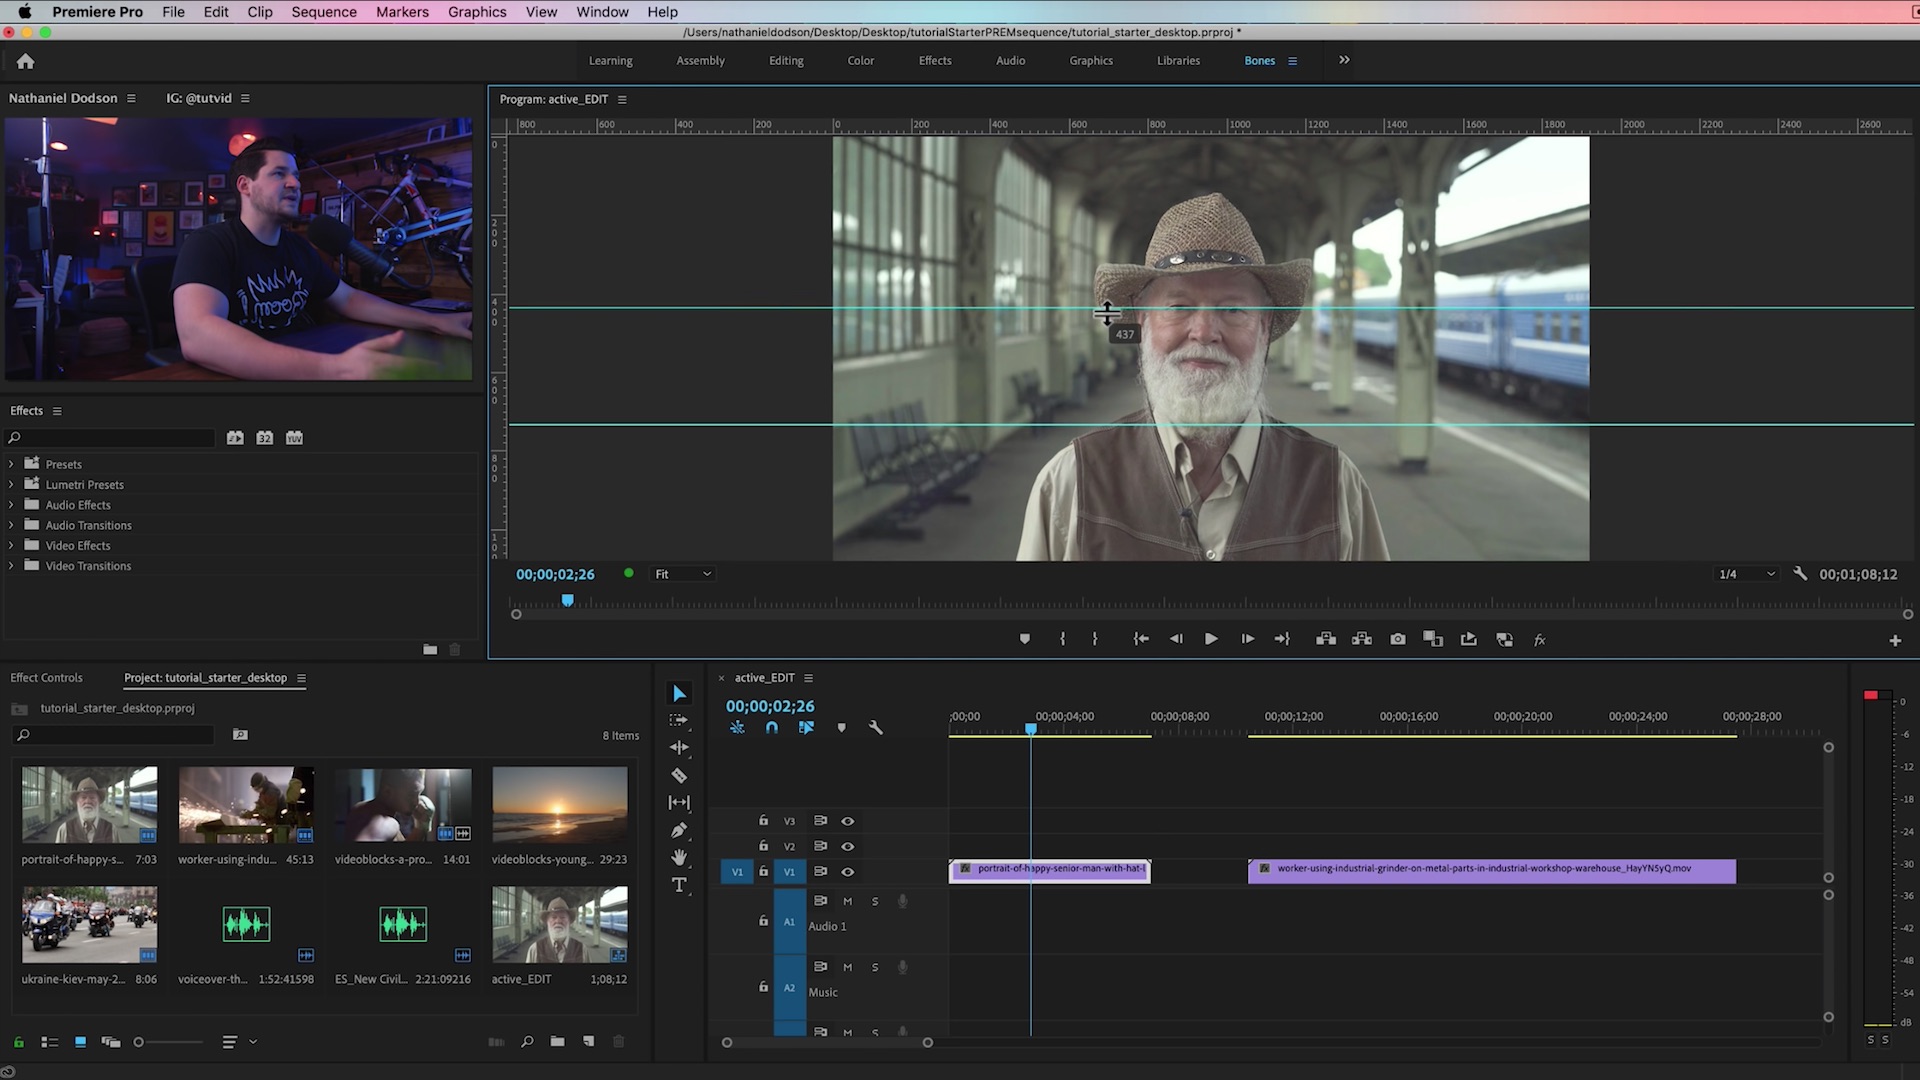
This is one of those “FINALLY!” new features, one that obviously should have existed a long time ago. Premiere Pro CC 2019 now offers Rulers in the Program monitor. These customizable guides help you align your titles and graphics more accurately than the Safe Margins ever could. Activate Rulers under View menu > Show Rulers.
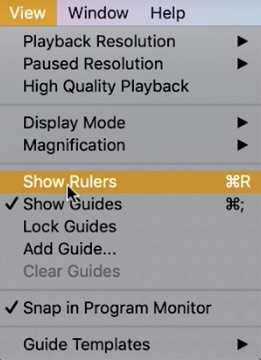
Another key thing to have enable when working with Rulers is Snap in Program Monitor. It can toggled under the View menu, as you can see in the image above. This will make your titles and graphics snap to your rulers.
When Show Rulers is on, you will notice the edges of the Program monitor panel will change to show pixel height and width. Just like in After Effects, click and drag on the edges to create a new ruler on the Program monitor. This is a huge relief for users who are OCD about graphic placement and alignment!

2. Faster Mask Tracking
Premiere Pro CC 2019 allows users to disable the tracking Preview, which results in faster tracking performance. It can be turned off under the tracking settings (wrench icon). Instead of seeing the actual tracking results in the Program monitor, you will instead a progress bar.

I can’t personally speak to the time saved with tracking Preview turned off, but Nathaniel is convinced. He says that this particular clip took 1:53 to track with Preview turned on, compared to 18 seconds with it turned off. That’s a significant difference!
3. Freeform View Mode

This feature probably came as a surprise to many Premiere Pro users. It doesn’t move forward any of Adobe’s signature features like Lumetri Color or Essential Graphics/Mogrts. Instead this is a feature that editing workflow junkies drool over.
Freeform View is essentially a new way of interacting with your media in Premiere Pro. As the name implies, you can freely organize your project by dragging and grouping thumbnails in the Project panel. This gives editors a high-level view of their project and helps them organize their stories in a new, visual way.
As for Nathaniel, he’s excited about Freeform View. But he didn’t put it as his number 1 feature because, as he states, he’s not quite sure how to use this Freeform View in his editing workflow yet. I suspect he’s not alone in that regard.

Which of these three features do you use the most? Do you notice significantly faster tracking results with Preview turned off? How do you use the new Freeform View in your editing workflow? Drop a comment and share!

