YCImaging: Speed-Up Video Effect Tutorial (Adobe Premiere Pro)

In this tutorial I show you how I do the Speed-Up/Speed Ramping effect in my videos using Adobe Premiere Pro! —YCImaging
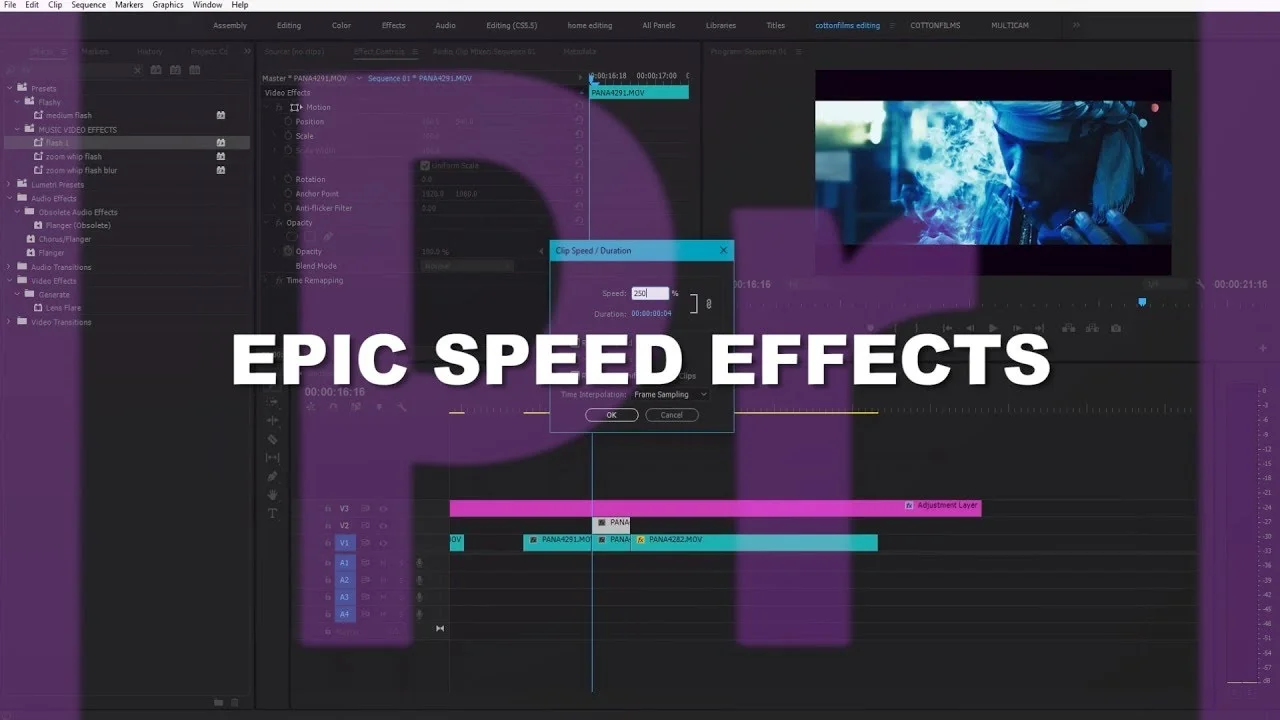
Add some intensity to your video with a few stylized speed ramps in Premiere Pro. This technique is especially great for music videos. Chrystopher Rhodes a.k.a. YCImaging begins at 1:27 by cutting the clip where he wants the speed effect to occur. Then he increases the speed in the Speed/Duration window (CMD+R) as shown at 2:28. Increasing the speed shortens the duration of the clip, so Chrystopher extends the clip back to the next edit point. Then, at 2:57 he cuts the sped up clip where he wants the speed to return to normal.
Chrystopher throws in some flair by adding Additive and Non-Additive Dissolve transition to the sped up clips.
At 4:52 Chrystopher shares a really great tip: use speed ramps to transition from one clip to the next. Following his method, cut the end of the outgoing clip and the beginning of the incoming clip and add the same speed adjustments to both sides of the edit point.
You might ask why Chrystopher doesn't use Time Remapping in the Effect Controls. He explains at 5:22 saying he likes the consistency and simplicity of the Speed/Duration window.