Motion Array: 8 Free Premiere Pro Templates & Presets

Motion Array's free Premiere Pro templates have been featured numerous times on both the Premiere Bro Blog and Week in Premiere. Motion Array has collected all their free Premiere Pro templates — eight total — into one post. To learn more about using Motion Array's Premiere Pro Templates, visit: How I Learned to Love Premiere Pro Templates.

Since launching the Premiere Pro templates category on Motion Array, we've seen an overwhelming positive response. If you're not familiar with Premiere templates and would like to wet your beak, we have 8 different free Premiere Pro templates and presets below that you can download and use royalty free. —Motion Array

Source: https://motionarray.com/blog/8-free-premiere-pro-templates

Premiumbeat: A Quick Guide to Nesting in Premiere Pro

Nested sequences in Premiere Pro are great for two reasons: they reduce timeline clutter by condensing multiple clips into one, and they allow you to combine effects such as Warp Stabilizer and Time Remapping. Jourdan Aldredge demonstrates both of these scenarios in this Premiumbeat blog post.

Nesting in Premiere Pro is a great tool for streamlining a long project. It’s also great for combining more effects to a clip than is usually possible. Here’s how to use it. —Jourdan Aldredge, Premiumbeat Blog

Source: http://www.premiumbeat.com/blog/nesting-in-premiere-pro

JK Design: Adobe Video World 2016: 8 Takeaways for Video Creators

Premiere Bro and JK Design partner up to present a summary of the major themes from Adobe Video World 2016. Topics include: Creative Cloud updates, VR and Character Animator. This blog post is a cross-section of industry trends, not just in the Premiere Pro user community, but for all video creators.

Adobe Video World is a must-attend event for video creators who want to learn Premiere Pro CC and After Effects CC, and interact with the Adobe product managers, designers and engineers who develop those applications. —Sean Schools, JK Design

Source: http://www.jkdesign.com/blog/2016/10/12/adobe-video-world-2016-8-takeaways-for-video-creators

Cinecom.net: Editing 4K on a Slow PC with Premiere Pro

In this video, Jordy Vandeput of Cinecom.net shows how to use the proxy workflows in the latest version of Premiere Pro CC to edit high resolution footage. This workflow is especially helpful for editing 4K on a slow computer or laptop. In fact, a proxy workflow might be the difference between being able to edit your video, and not being able to at all!

Slow computers and 4K video editing doesn't go together. But there's an option in Premiere Pro that creates low resolution proxies in a very fast workflow. —Jordy Vandeput, Cinecom.net

Source: https://www.cinecom.net/tutorials/editing-4k-slow-computer-premiere-pro

VideoRevealed: Proxy Workflows in Adobe Premiere Pro

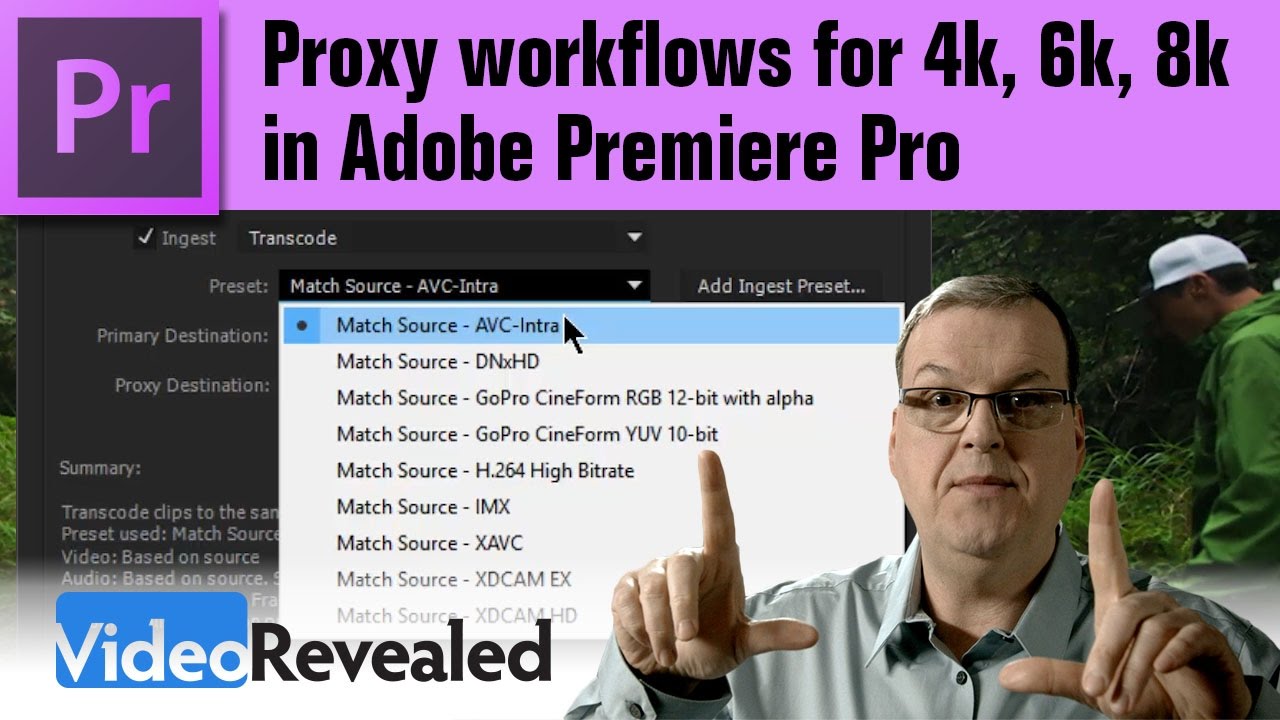
In this video tutorial, Colin Smith of VideoRevealed teaches how to use proxies in Premiere Pro. Proxy files are light-weight versions of the original camera files, and they are ideal for editing ultraHD footage, especially if you're editing with an older computer or on-the-go with a laptop. The proxy workflows in Premiere Pro CC 2015.3 make it easy to generate and attach proxy files. Colin gives you a step-by-step guide in this easy to follow tutorial.

This tutorial will show you how Premiere Pro will create and attach proxies so you can work on large frame sizes on slower systems. It also covers creating custom Ingest Presets in case you find the included presets don't fit your needs. —VideoRevealed

Source: https://youtu.be/993mbUa0h-w

Premiumbeat: Archive Your Project With the Premiere Pro Project Manager

In this Premiumbeat tutorial, Jason Boone breaks down how to archive a video project using the Project Manager in Premiere Pro. In short, the Project Manager allows you to export selected sequences with all their media to a single folder for easy backup or hand-off. Jason explains all the Project Manager settings you need to know to successfully create an archive of your project.

Archiving is the best way to share your Premiere Pro projects. Here's how to archive your projects in Premiere Pro. —Jason Boone, Premiumbeat Blog

Source: http://www.premiumbeat.com/blog/archive-your-project-with-premiere-pro-project-manager

Forbes: Godzilla Resurgence Edited in Adobe Premiere Pro CC

Godzilla Resurgence had roaring success at the Japan box office. According to this Forbes interview with the film's co-editor, Atsuki Sato, Godzilla Resurgence was cut in Adobe Premiere Pro CC. Atsuki and his team decided on Premiere Pro CC based on previous experiences that taught them "the importance of carrying out filming, editing and VFX in  an entirely integrated manner." The integration with other Creative Cloud applications, particularly Dynamic Link with After Effects CC, continues to be a prevailing reason why filmmakers are choosing to edit with Premiere Pro CC. Check out the full Forbes interview with Atsuki Sato, which includes a picture of the Godzilla Resurgence edit inside Premiere Pro CC.

"We decided to compose our editing studio based on Adobe’s Premiere Pro CC, which enables integration for multiple devices and provides a flexible editing situation where multiple people could work simultaneously." —Atsuki Sato

Dylan Osborn: Set up a Proxy Workflow, Part 2

This is the 2nd Done With Dylan tutorial in a 2-part series on proxy workflows in Premiere Pro. In this video, Dylan Osborn shows how to create both an encoding and ingest preset for proxies. Choosing the right aspect ratio for your proxies can be confusing. Luckily, Dylan has done all the math for you. He has provided a proxy conversion chart with the aspect ratios and frame sizes for common footage resolutions (see below). Visit Dylan's site to download his Proxy Frame Size Conversion Chart.

Part two shows you how to create custom ingest presets for different proxy frame sizes in four minutes. —Dylan Osborn

tdcat: Convert Stereo to Mono in Premiere Pro

In this short video tutorial, tdcat.com shows how to make a stereo track behave like a mono track using the Fill Left/Fill Right audio effects in Premiere Pro. Very useful if you've got a stereo clip, and one of the channels is the onboard camera audio.

Short tutorial on how to use one channel of a stereo track in Adobe Premiere Pro or make a dual mono track. This is useful to force a stereo vocal track to mono or use maybe only the left channel when the right channel has a different mic source. —tdcat.com

TheHighTechHobbyist: 15 Best Premiere Pro Tutorials of 2016

Check out the top 15 Premiere Pro tutorials of 2016 recommended by TheHighTechHobbyist. Tutorials cover everything from editing and transitions to color and effects. This list goes beyond just the basics, there's plenty of specific tutorials on how to create logo animations, custom transitions, and the Sin City effect. This is a great roundup featuring YouTube channels including: VideoRevealedCinecom.net (Jordy Vandeput), Kriscoart, and more!

Premiere Pro CC can be a little overwhelming when you first open it up. So you’re probably wondering: what can I do with it, and how do I do it? We’ve got you covered! —TheHighTechHobbyist

Premiumbeat: Dynamic Trimming in Premiere Pro

In this Premiumbeat blog post, Logan Baker teaches how to make trim edits during continuous looping playback in Premiere Pro. This technique is referred to as dynamic trimming, and It's great for finessing an edit point while seeing changes in context. 

"This quick tutorial covering dynamic trimming in Premiere Pro will help you achieve more precise playback while editing in the timeline." —Logan Baker, Premiumbeat